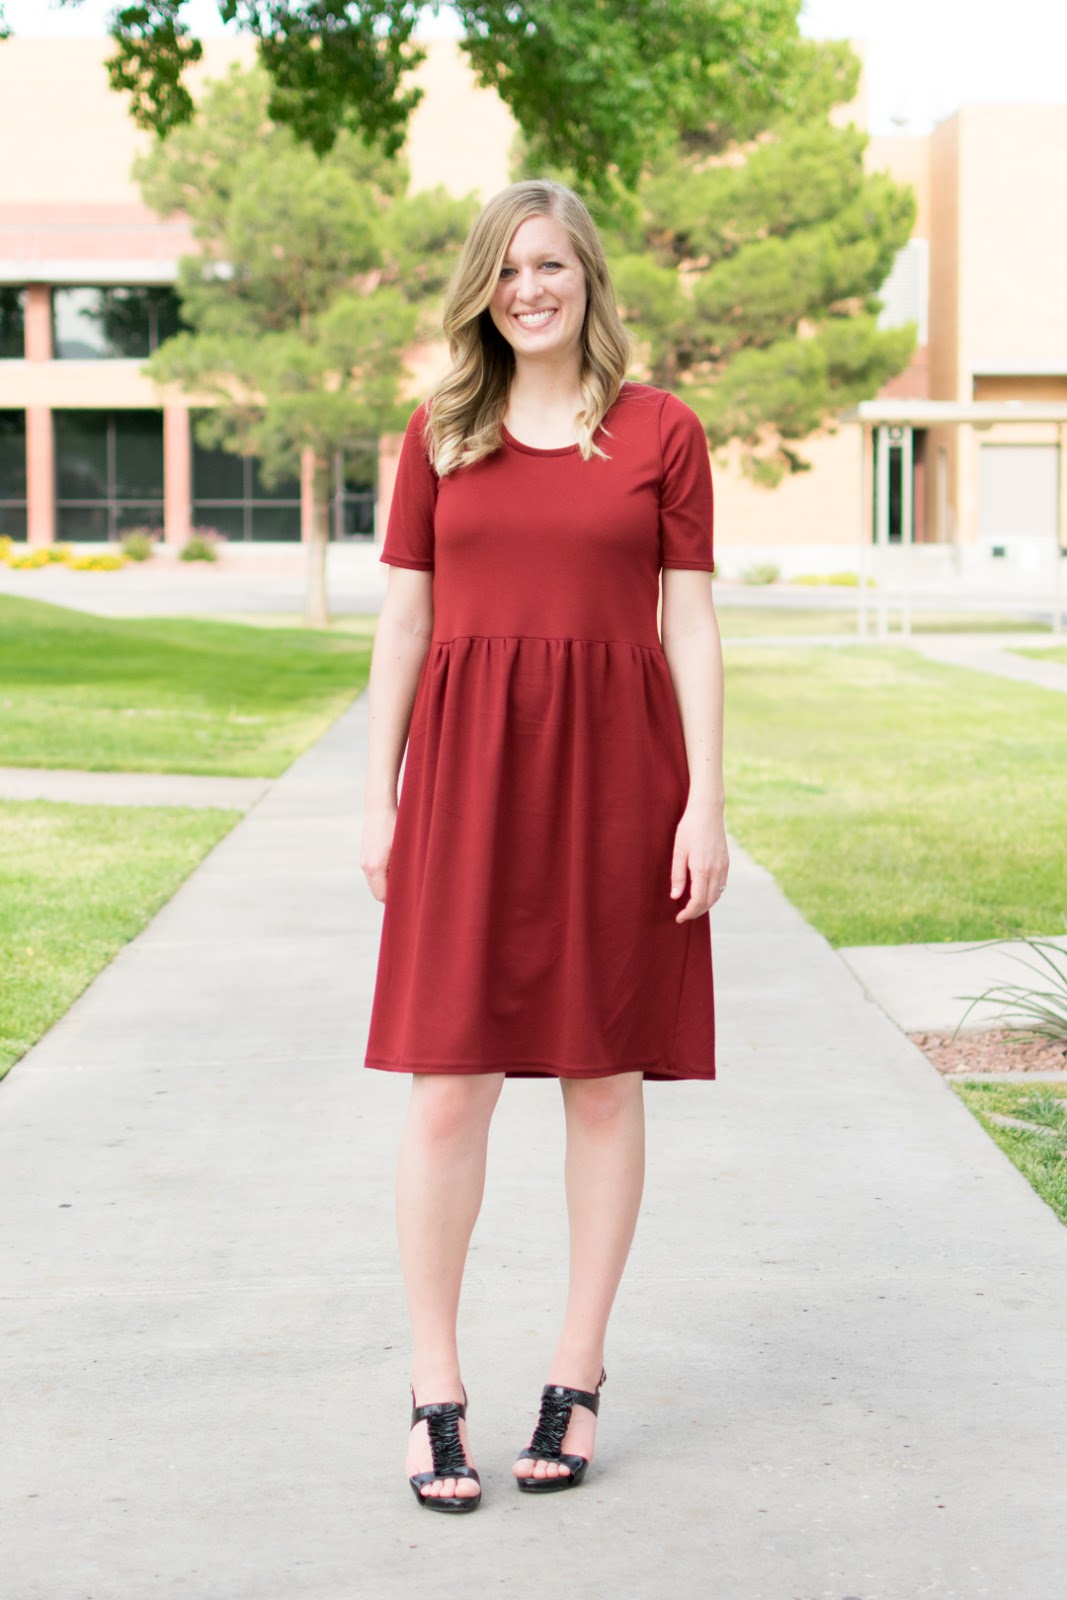

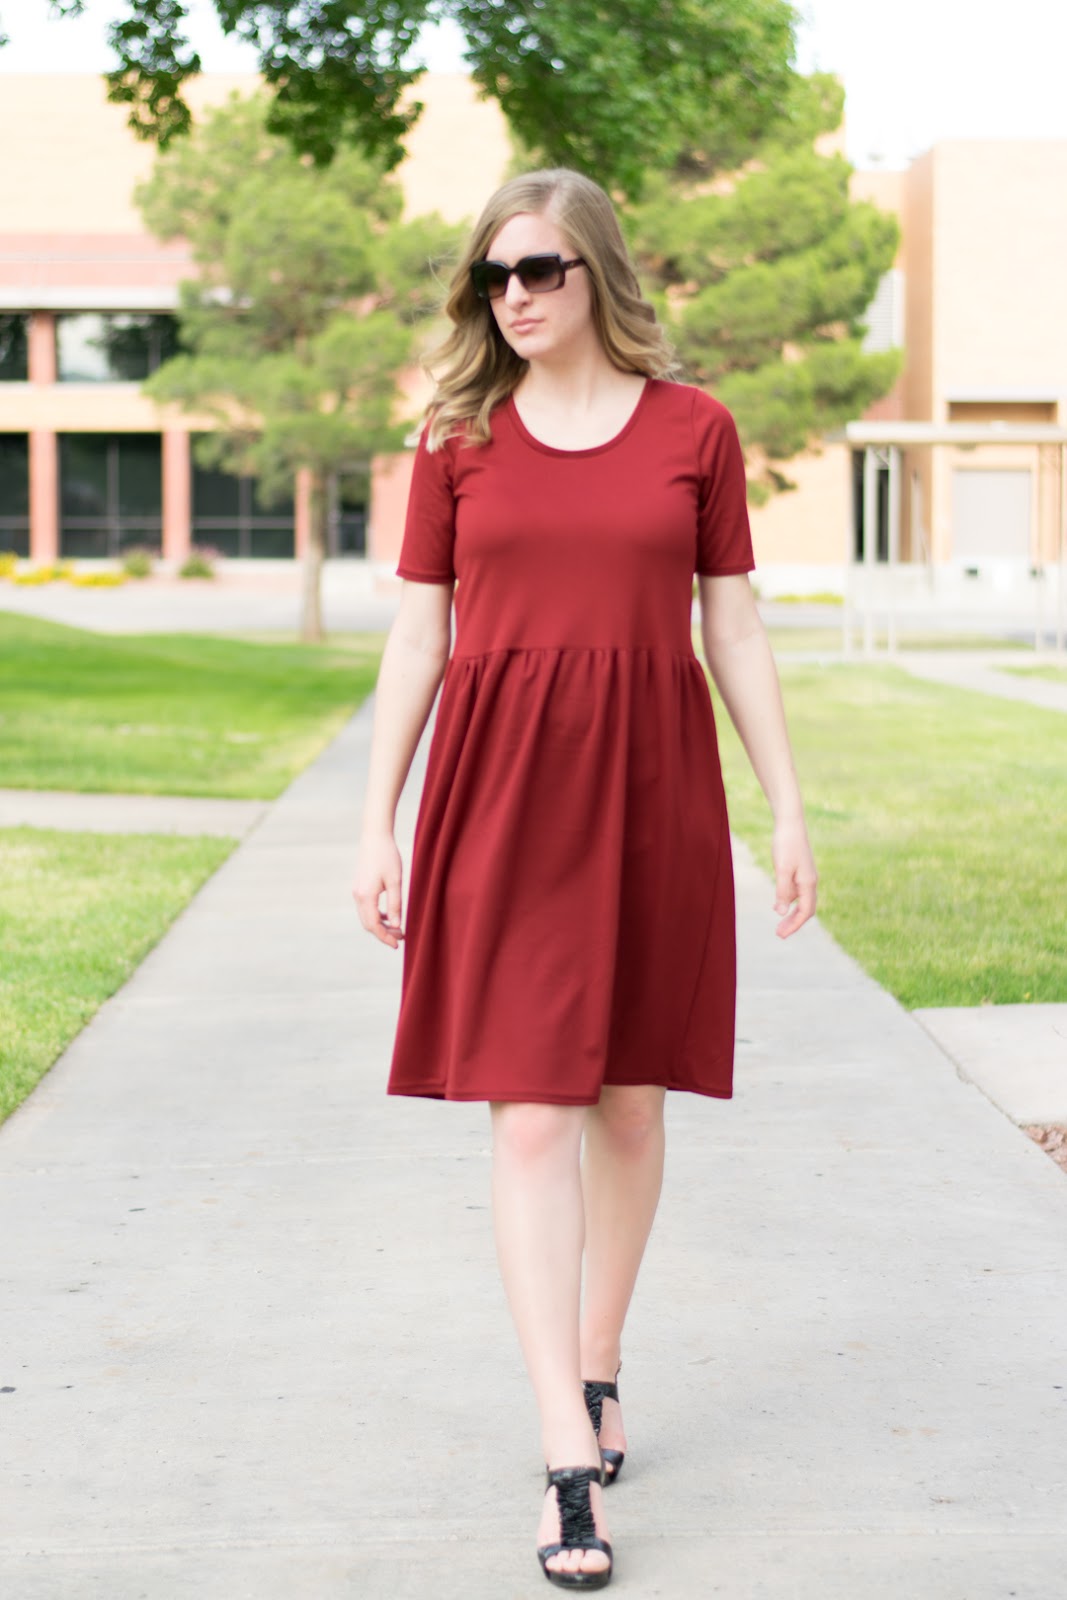
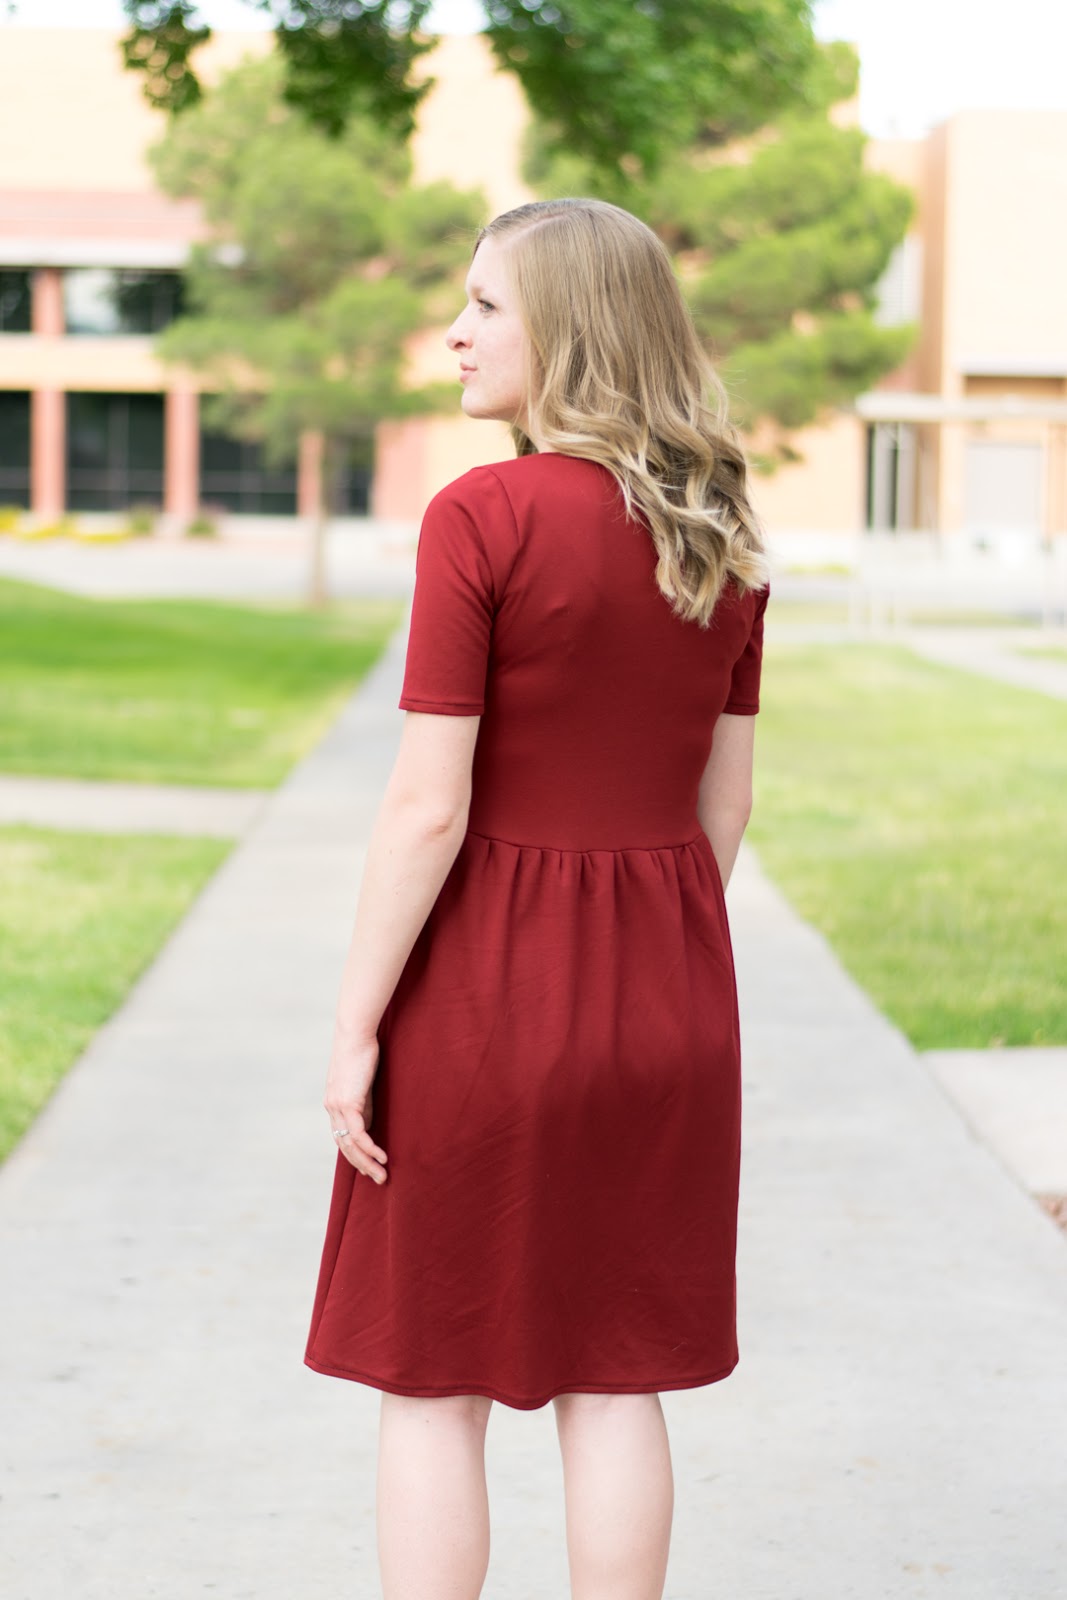

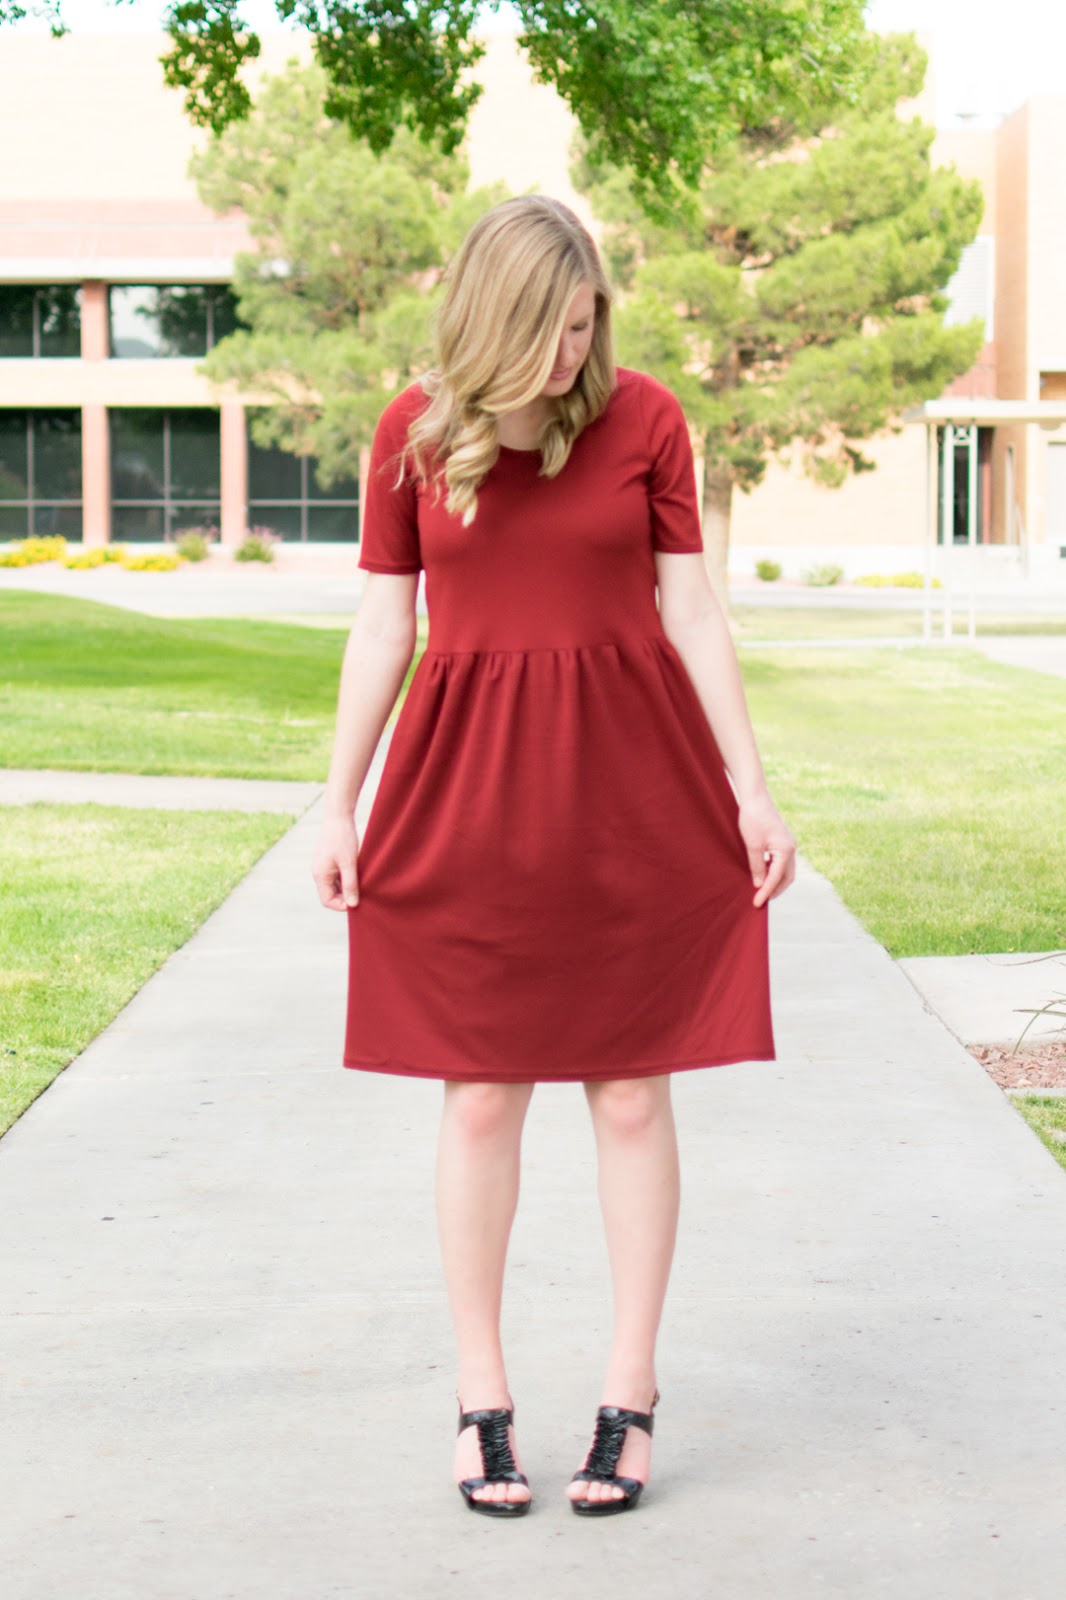
Fabric: Red knit fabric from JoAnn’s (I don’t have the exact percentages)
Pattern: Lark Tee – Scoop neck version with fabric added to the bottom as the skirt
This pretty thing was my graduation dress! Unfortunately not very many people saw it under my robe, though.
I had some extra fabric towards the end when I was adding the skirt so I attempted adding pockets… They were too small, so I couldn’t fit my hands in them, and they weren’t laying exactly how I had pictured, so I cut them off and just decided to try again another time (hopefully with a pattern that already has them so I don’t have to guess on the shape and size).
That’s the thing about guessing, it never really works as well as I hope. One girl that is super good at guessing with patterns is Merrick. I’ve seen how she makes patterns from clothes she already has, and I am amazed at how it always ends up fitting and looking so good on her! I don’t know how she does it, but I also don’t know how frustrating it’s been getting to the point where she has figured it out. I would much rather have a pattern to stick to and adjust it accordingly, because guessing/estimating seems like too big of a risk for me.
That’s why I love this Lark Tee pattern. I’ve already made two versions of the tee, and I love them both (other shirt coming soon!). The Lark Tee has four different versions; crew neck, scoop neck, boat neck, and v-neck — and was only $16 (mailed to me in paper form). So I figure I got four shirt patterns at $4 each! The directions and tips in the booklet that came with it were very helpful and I didn’t have any problems sewing up either shirt.
Sewing Notes / How To:
For this dress I only cut the pattern to the “cut here to lengthen/shorten” spot on the pattern since I wouldn’t need the rest. Then I sewed and hemmed all of the shirt except the bottom hem. You could do this just as easily with a shirt you already have and just buy fabric to sew to the bottom for the skirt.
For the skirt, I took my waist measurement and multiplied it by 1.5 (example: 31″ x 1.5 = 46.5″). Whatever you get is going to be the long sides of a rectangle. The short sizes of the rectangle are however long you want your skirt to be.
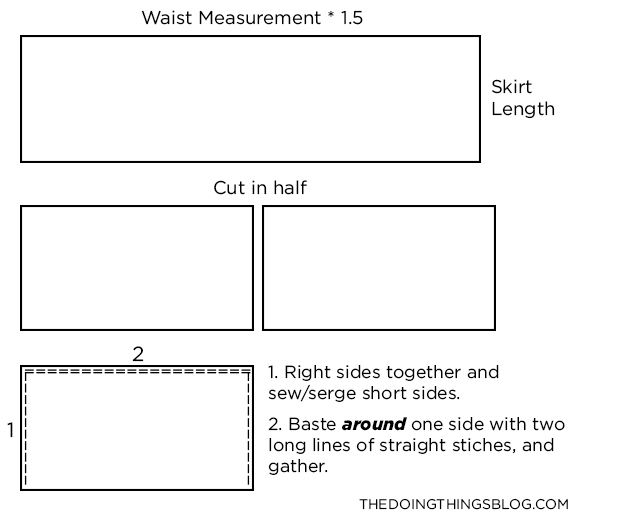
Since I attempted pockets at first, I cut my long rectangle in half to create to shorter rectangles. You may want to do this anyways so that your seams to line up with your shirt seams. I sewed the rectangles together on the short sides with right sides together before I basted it.
I have always been nervous about the basting and gathering technique, but I watched a few YouTube videos and got it (I found this video to be the most helpful and did it exactly the way that she did). It was surprisingly much easier than other techniques I’ve heard of and tried. So don’t be afraid to just baste and gather!
Once I had basted, gathered, and pinned it to my shirt (right sides together), I sewed the skirt to the top, and all there was left to do was cut the bottom to the right length and hem!
this is adorable, I'm going to have to give this knit t shirt dress a try!
Thank you, Angela! It's such a fun and comfortable dress!