
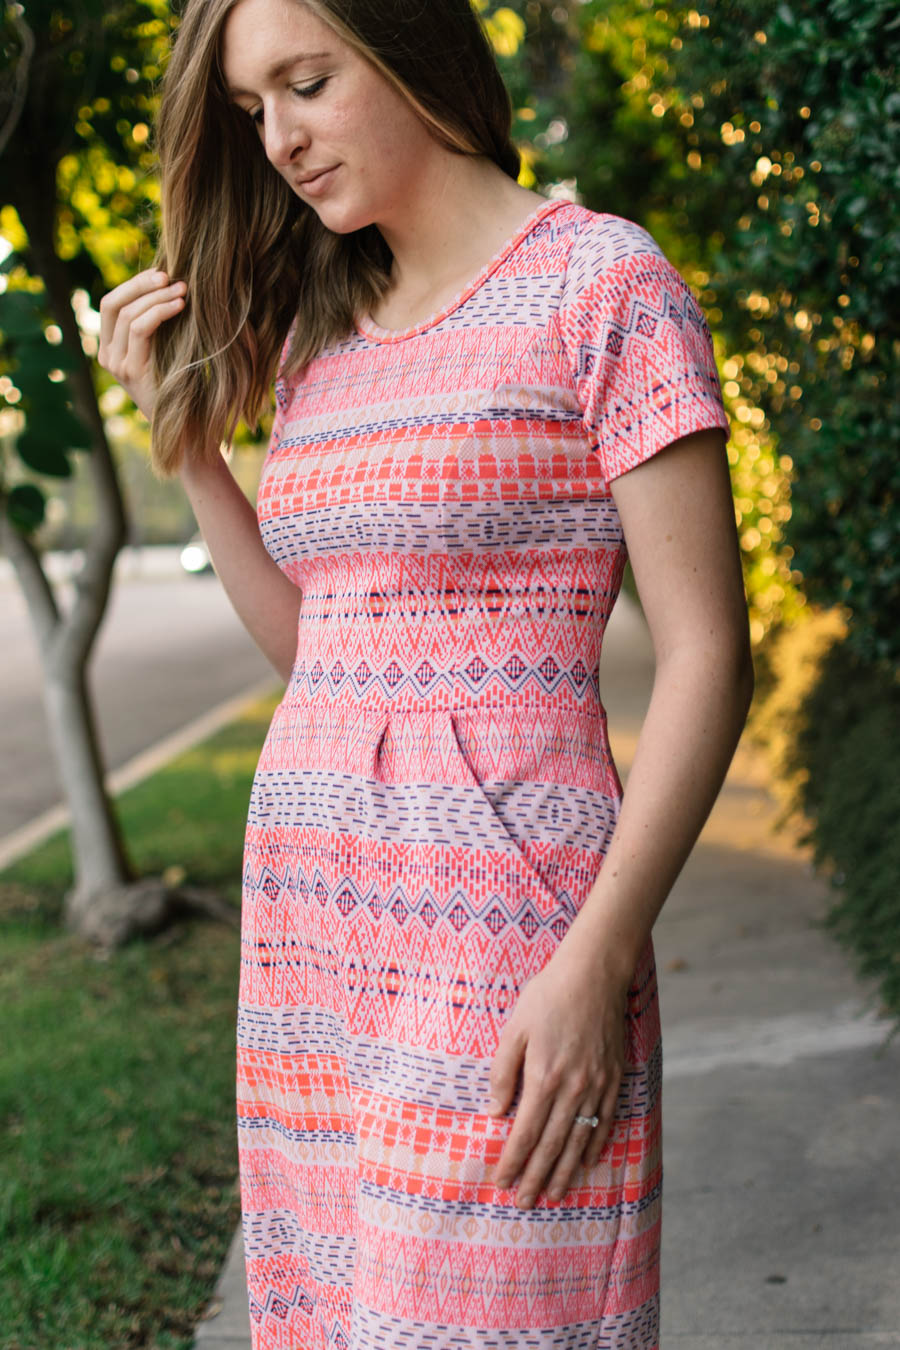
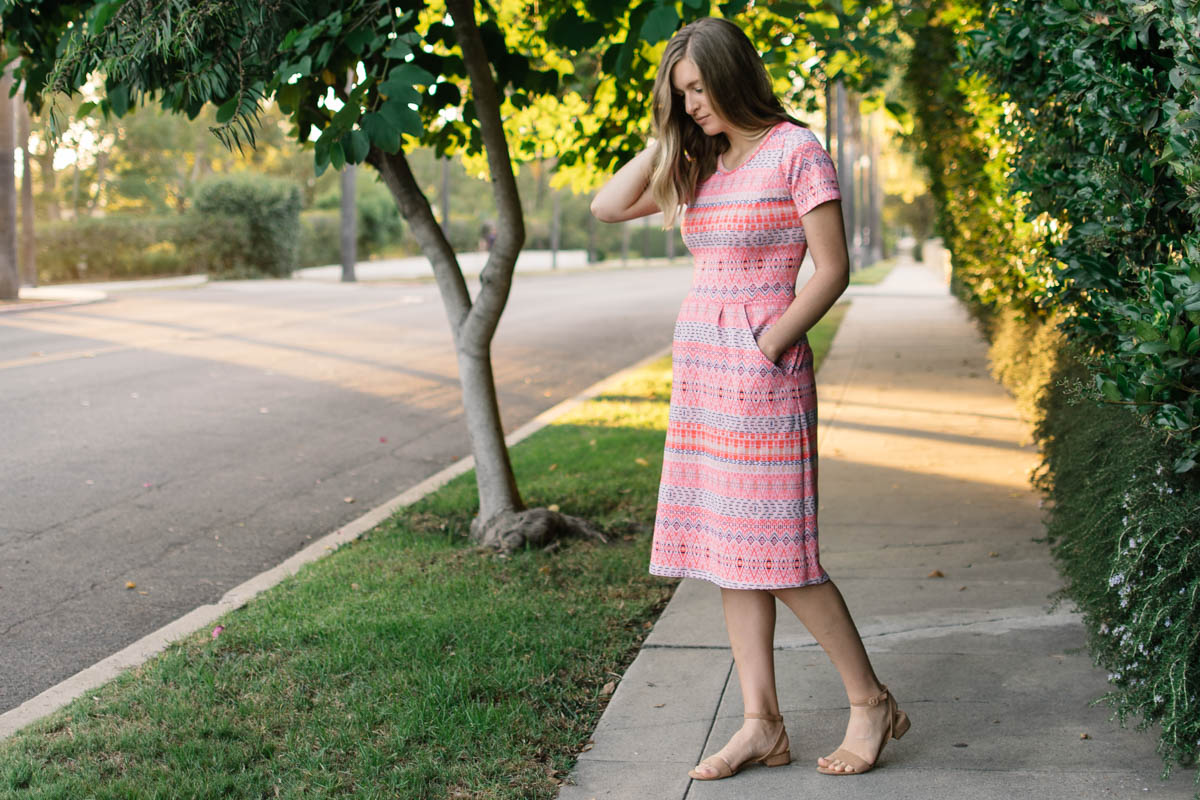
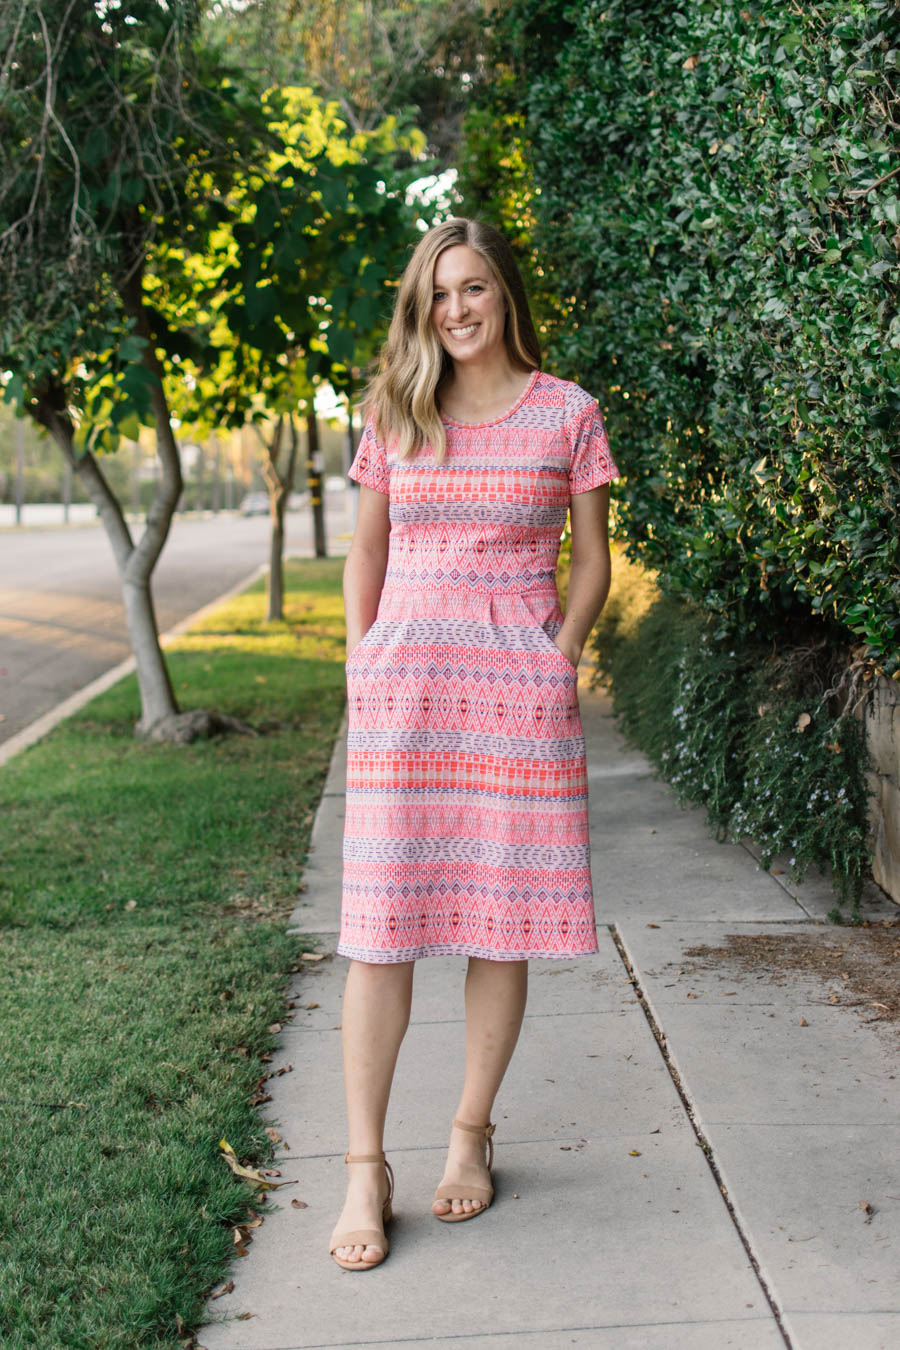
I have been meaning to make this dress and write this blog post for…lots of months now, and I’m so excited to finally share it! After making the adjustments I needed to, this Charleston Dress fits like a GLOVE! I was so giddy with excitement when I was all done, and it fit so well. Most rewarding thing about sewing, in my opinion.
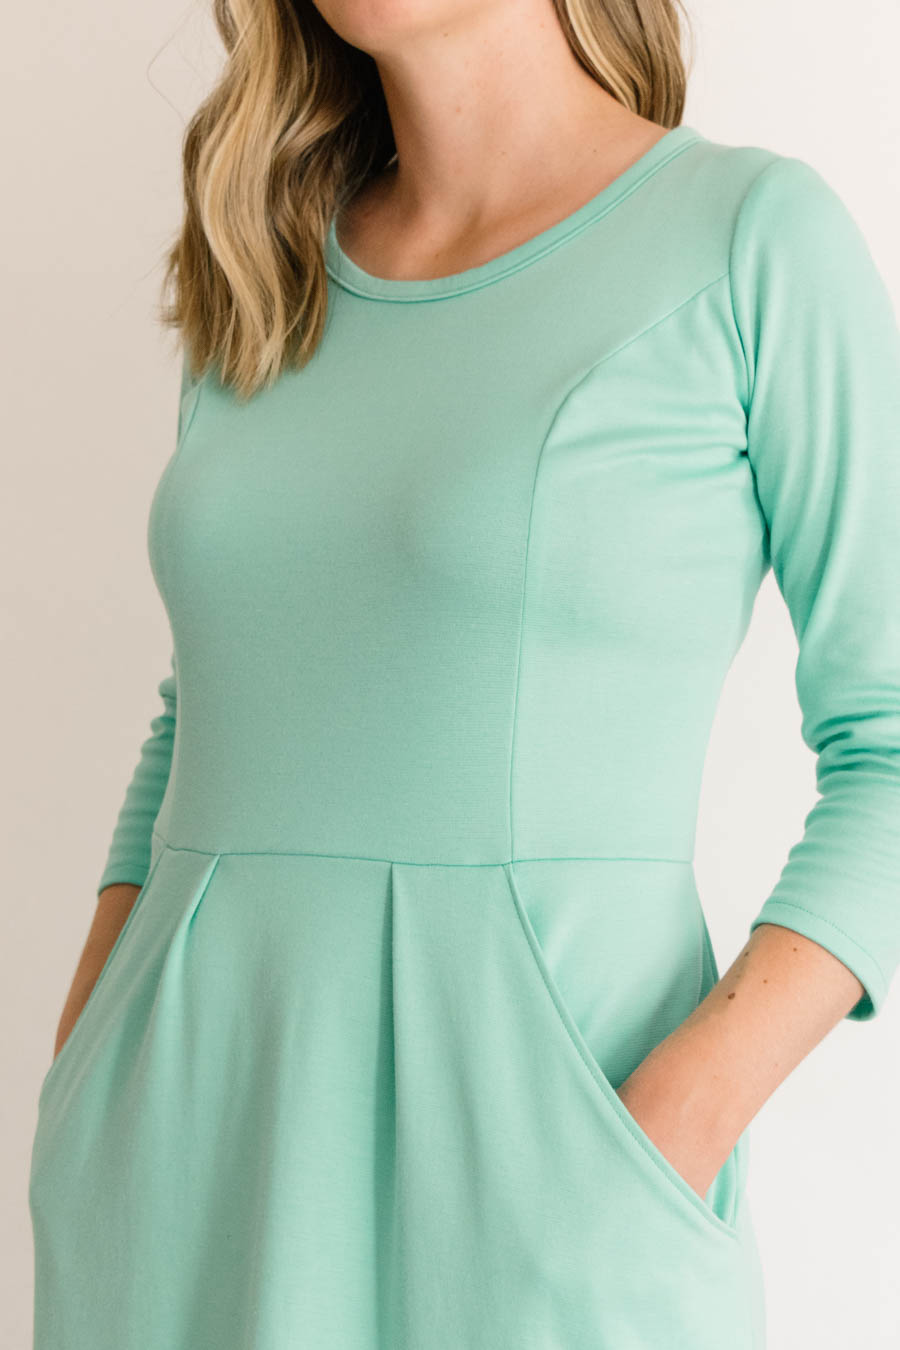
I made my first Charleston Dress by Hey June last November with a ponte fabric from Cali Fabrics (mint green, pictured below), but I didn’t make a muslin beforehand, and I wanted to make a couple of changes before making another.
As you can see, one of the problems I had was that the curve of the front princess seam for the bust was too high up and caused some bunching and bagging from the excess fabric above my chest. I knew the bunching was from the curve being too high, but since I had never sewn anything with princess seams, and especially ones with knit fabric, I wasn’t sure how to lower the curve. The second problem was that the armscye was a bit too tight on me, so I just wanted to lower that too.
I reached out for help and Adrianna (the pattern designer) was both very helpful. I also looked at this tutorial by Curvy Sewing Collective. It seems like there are a few different ways of doing a low bust adjustment, but they are basically all doing the same thing. Just choose the one that makes the most sense to you.
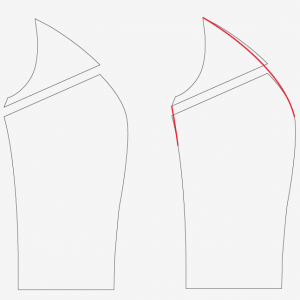
Adrianna sent me the above graphic, and her explanation of how to lower the bust was: “Slash the pattern above the bust (at an angle so you don’t mess up the armscye) and spread it. Then if necessary, cut along the lengthen/shorten line on the lower bodice to remove the length you added from that area so the waist height stays the same.”
I usually make adjustments to things when I’m tracing them, so using what I learned from all of these sources, this is how I decided to go about lowering the bust that made the most sense and was easiest to me (without cutting and taping).
LOW BUST ADJUSTMENT FOR PRINCESS SEAM
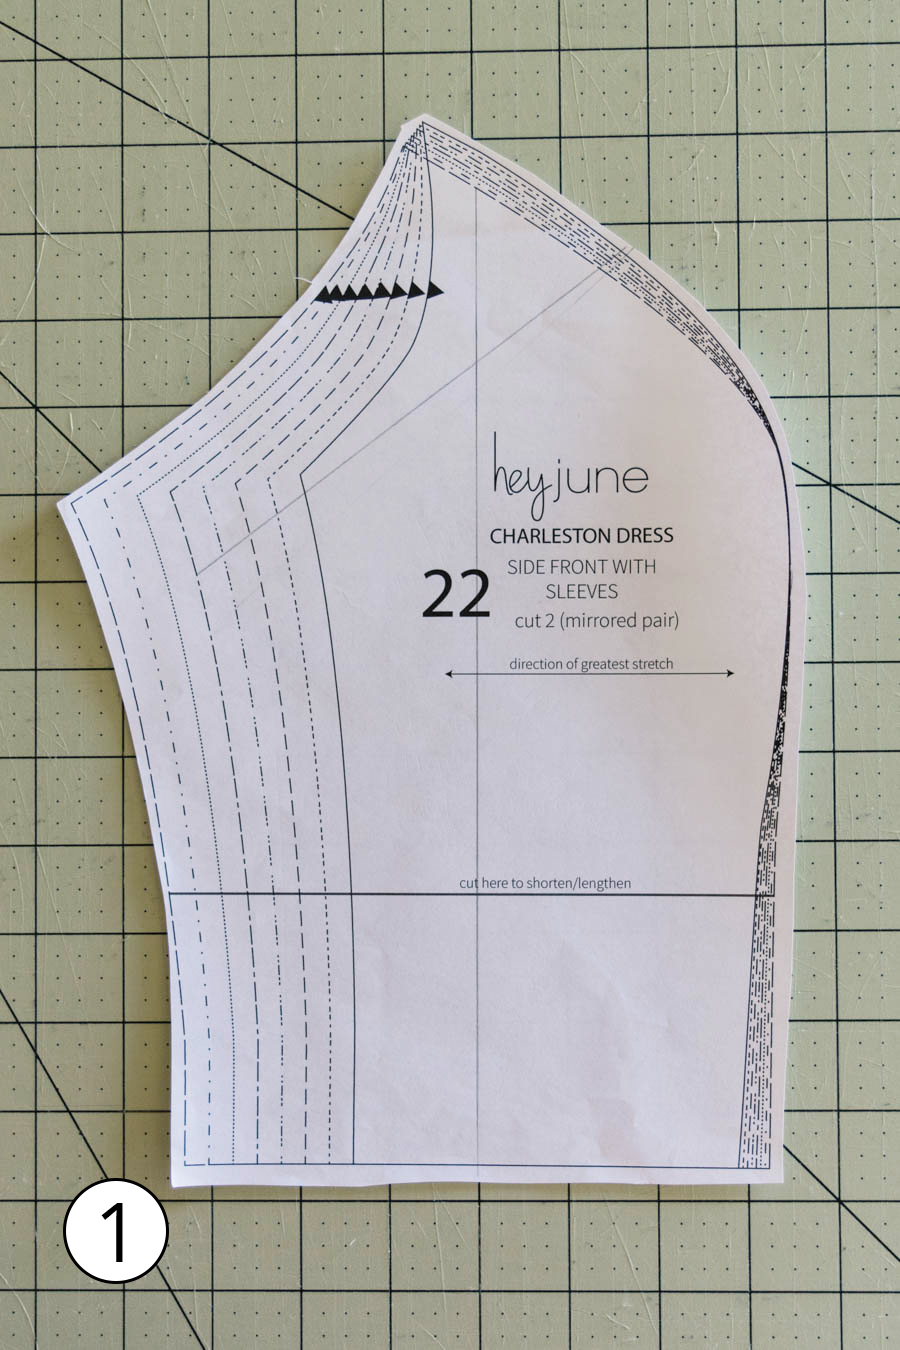
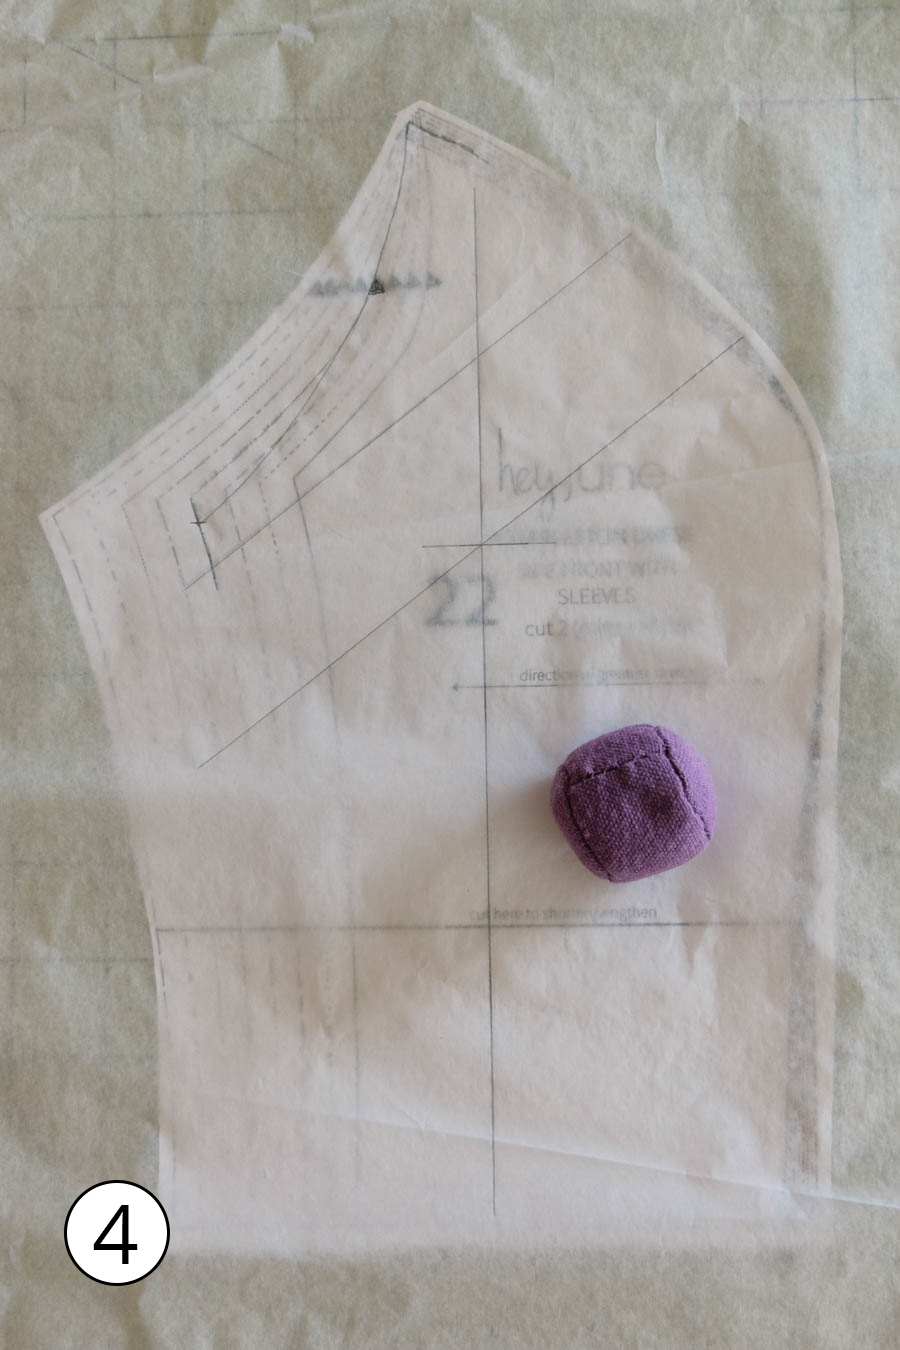


- Draw a vertical line down the middle and the angled line that Adrianna suggests, on the original pattern piece. Since the pattern is curved on all sides, I drew my vertical line perpendicular to the lengthen/shorten line.
(I have found that when lengthening certain things it’s best to draw a vertical line down the pattern piece to make sure that when I lengthen, it’s straight down and I don’t angle or move it left or right.) - Trace the armscye, and about 1″ down the princess seam and the entire side seam. (*Optional* I lowered the armscye by 1/4″ because my first Charleston is a little bit tight in the armpit.)
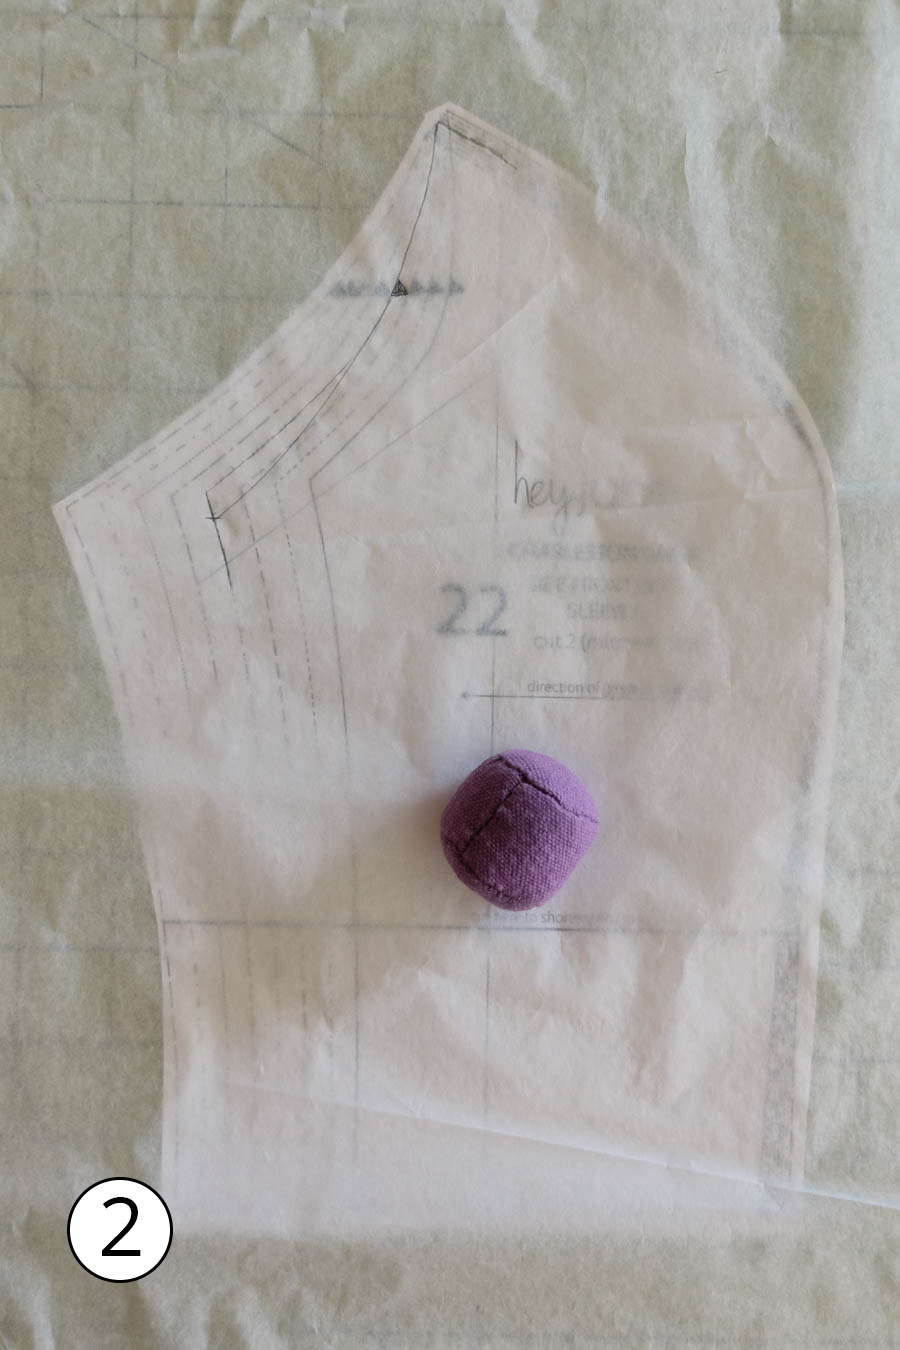
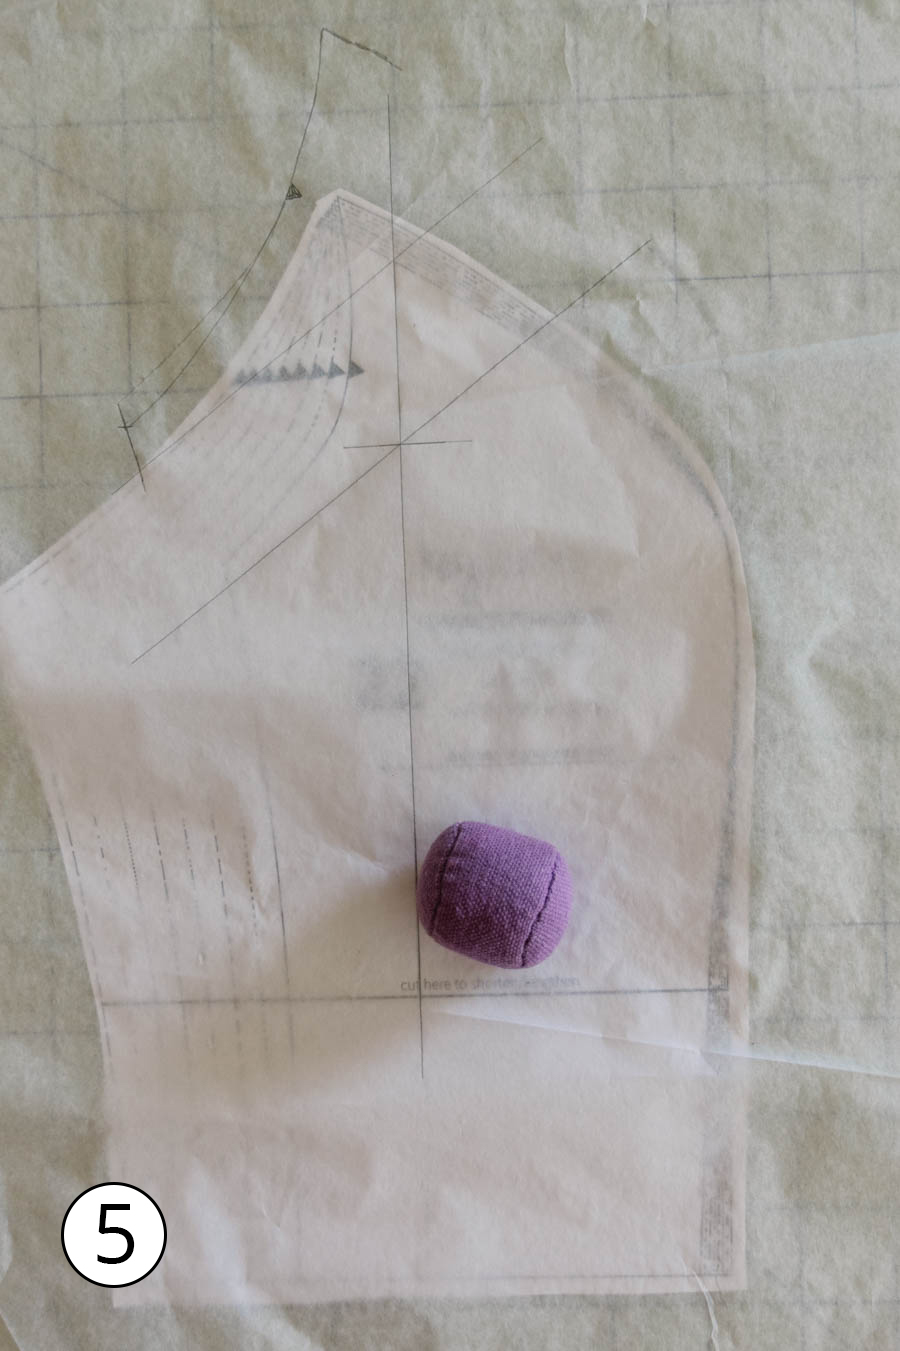
- Trace the vertical line and the angled line from the pattern piece.
- Mark the amount you are lengthening below the intersection (I lengthened 2″), and use that line to draw a second angled line parallel to the first angled line.
- Move the tracing paper straight up until the lower angled line is over the angled line on the pattern (use the vertical line to make sure you are still in-line with your pattern piece).
- Get your side seam line to meet up at the bottom (you shouldn’t have to adjust that very much), and trace from the middle bust curve, down to the bottom of the pattern piece.
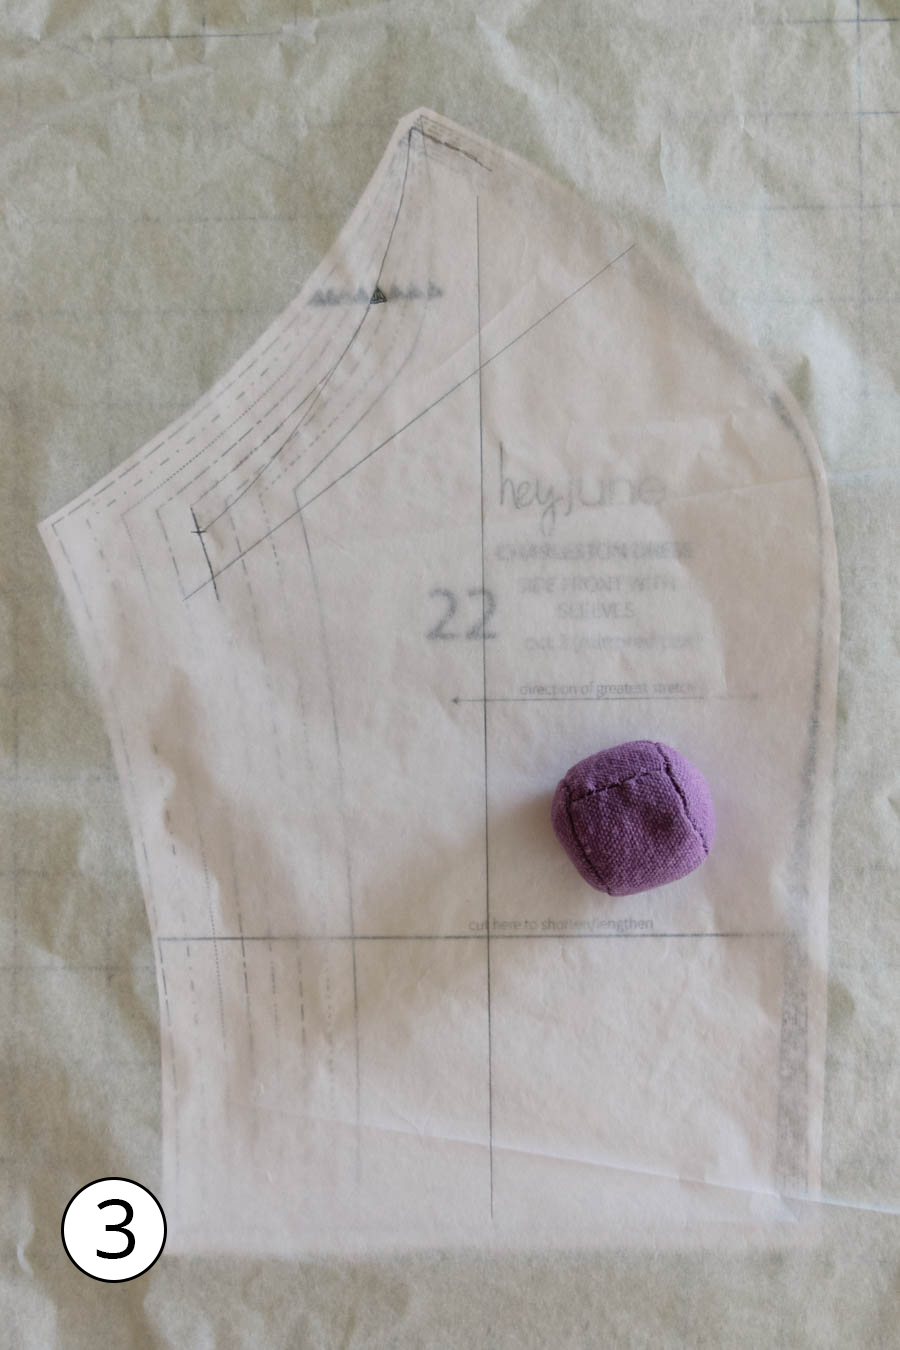
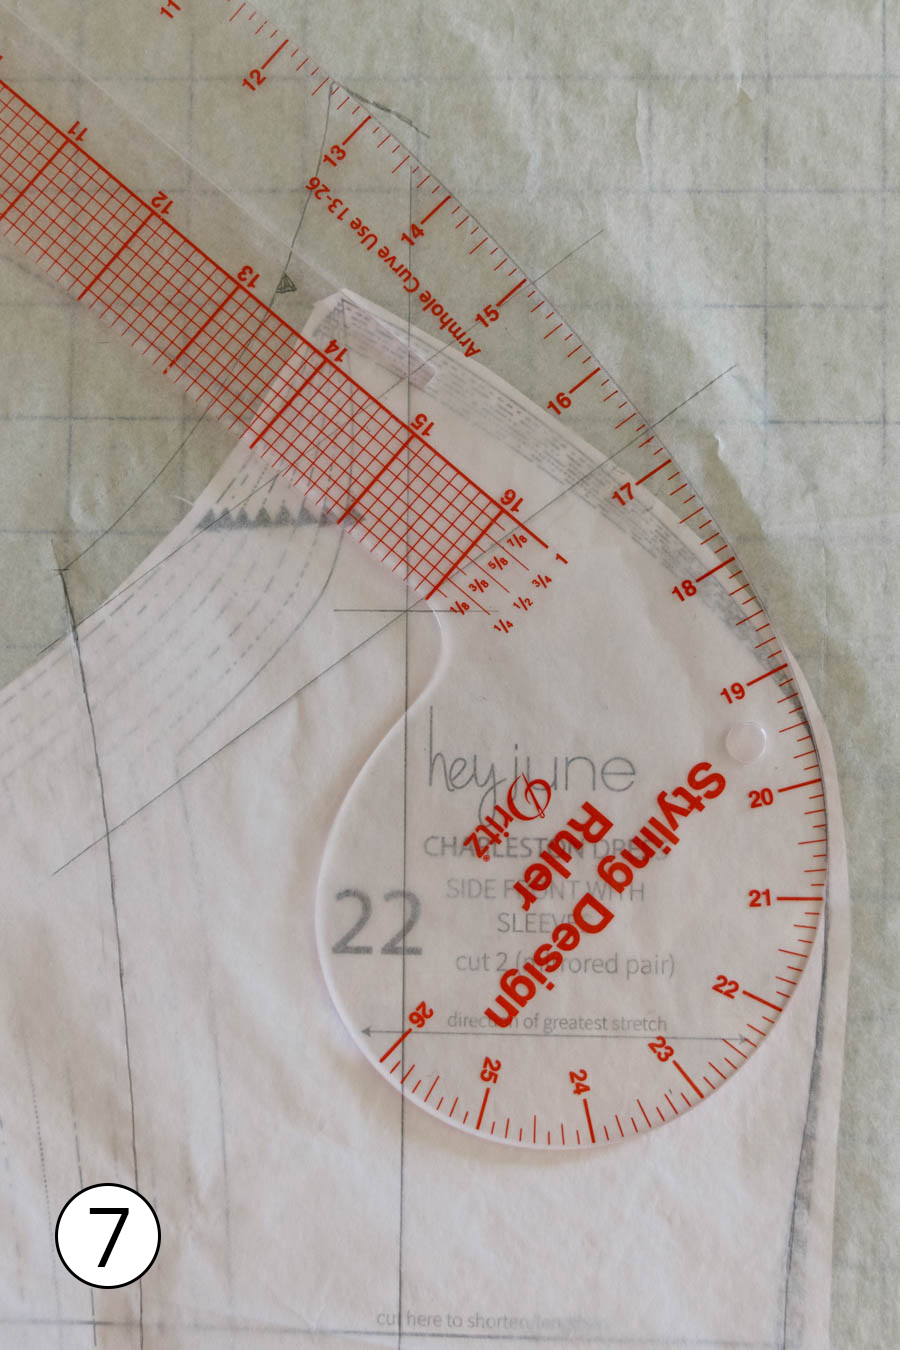
- Use french curve to make a gradual curve from the top point that curves right into the bust. (I know I’m probably using the wrong french curve, but it worked!)
- All done! The top will be much less curved because you’ve lowered the bust, and it will eliminate the bunching and bagging from the extra fabric above the bust.
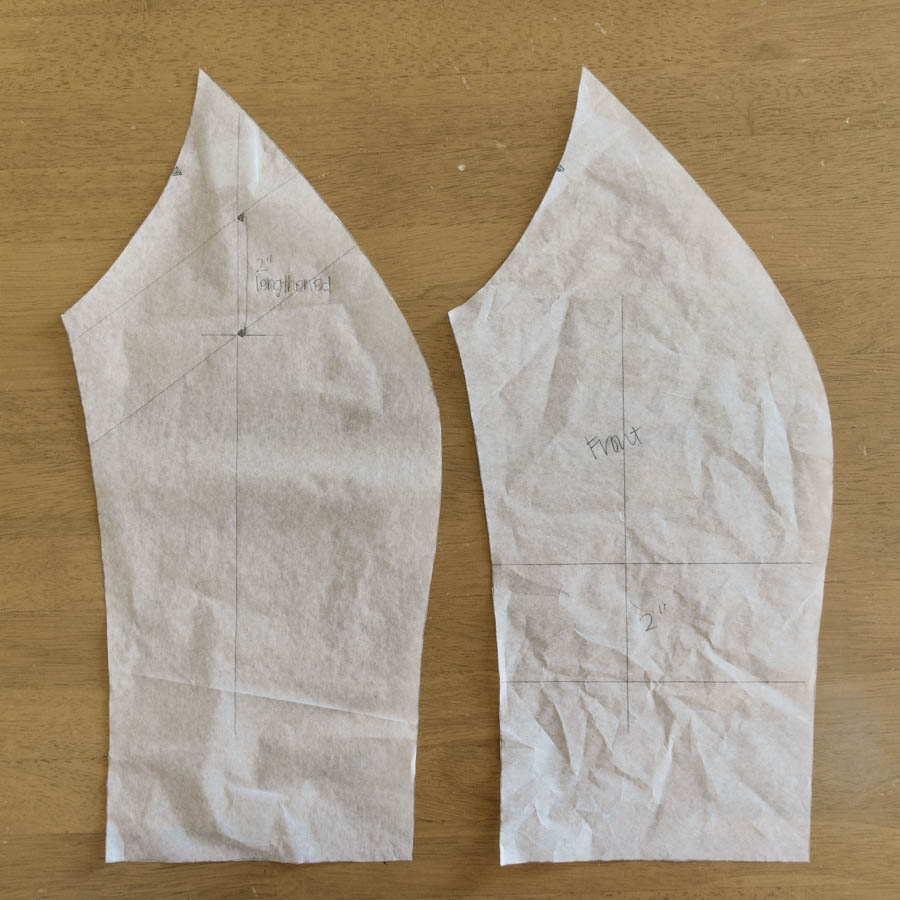
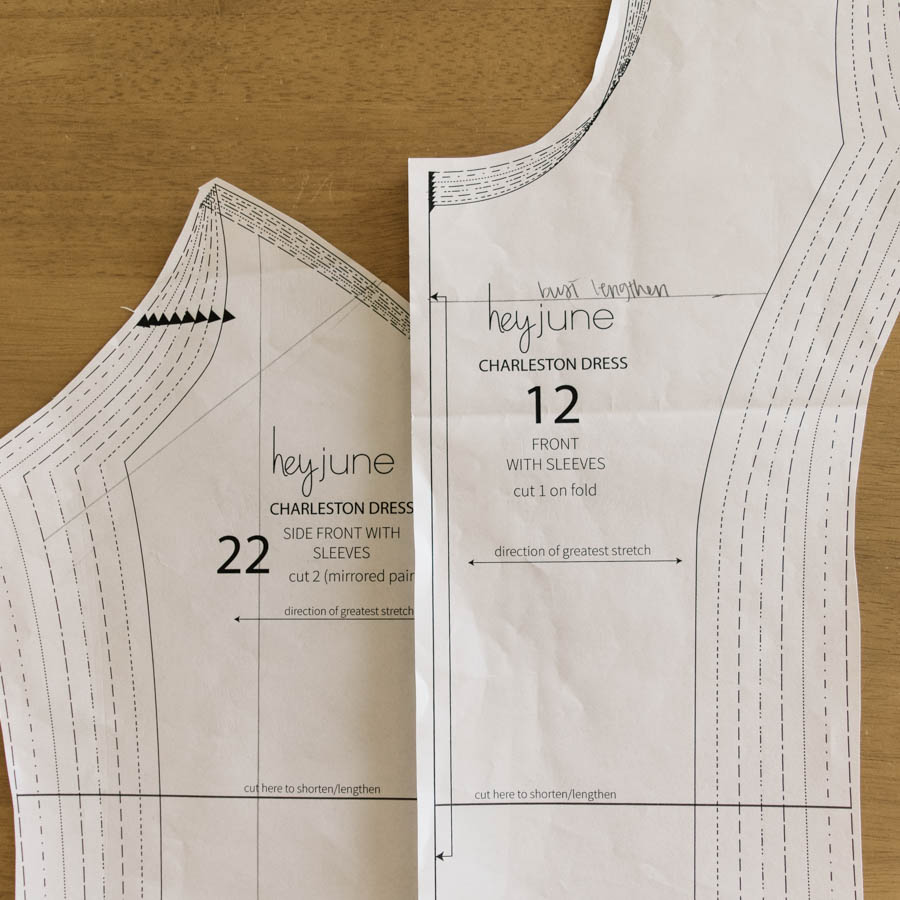
Here’s a look at my two ‘side front’ pattern pieces. One I used cutting the fabric, and the one I made for this tutorial, and they are exactly the same (so in other words: I did it right twice!)! The one I used to cut my fabric, I actually used the lengthen/shorten line to lengthen, but it didn’t change anything. You just need a guide to know how far 2″ is (or however much you’re lengthening), and the vertical line to make sure it stays straight when you move the tracing paper up.
NEXT – Adjust the other 3 pattern pieces. You will do the same angled line and lengthen to the side back pattern piece (+lower the armscye, if you did that on the front). For the front and back center pieces, I lined up the pattern pieces and drew a line at the same height that the angle hit (*see photo ablove), and lengthened 2″ from there, then adjusted the curve. (TIP: If you have a hard time seeing my pencil marks, the pictures can be clicked and zoomed in on separately.)
Lowering the bust by 2″ made it so that I didn’t have to add any extra length to lower the waistline. The only other sewing tall adjustment I made was to lengthen the skirt by 5″.
My first mistake with this dress was not to muslin the front (*face palm*). It would have been SO EASY, but I was excited and didn’t muslin. After after lengthening the pattern by 1.25″ and cutting all of my fabric SO PERFECTLY, I sewed the front side to the front center piece and tried it up to me…and the bust still wasn’t low enough. So, I made new pattern pieces and at least tried them up to my body before cutting the fabric. I had enough fabric left to cut the pieces again, but the pattern on the fabric was not going to meet up as nicely as my first pieces. And after cutting, I also realized I had cut the fabric pattern going the opposite direction. (DOH! *Homer Simpson face-palm*)
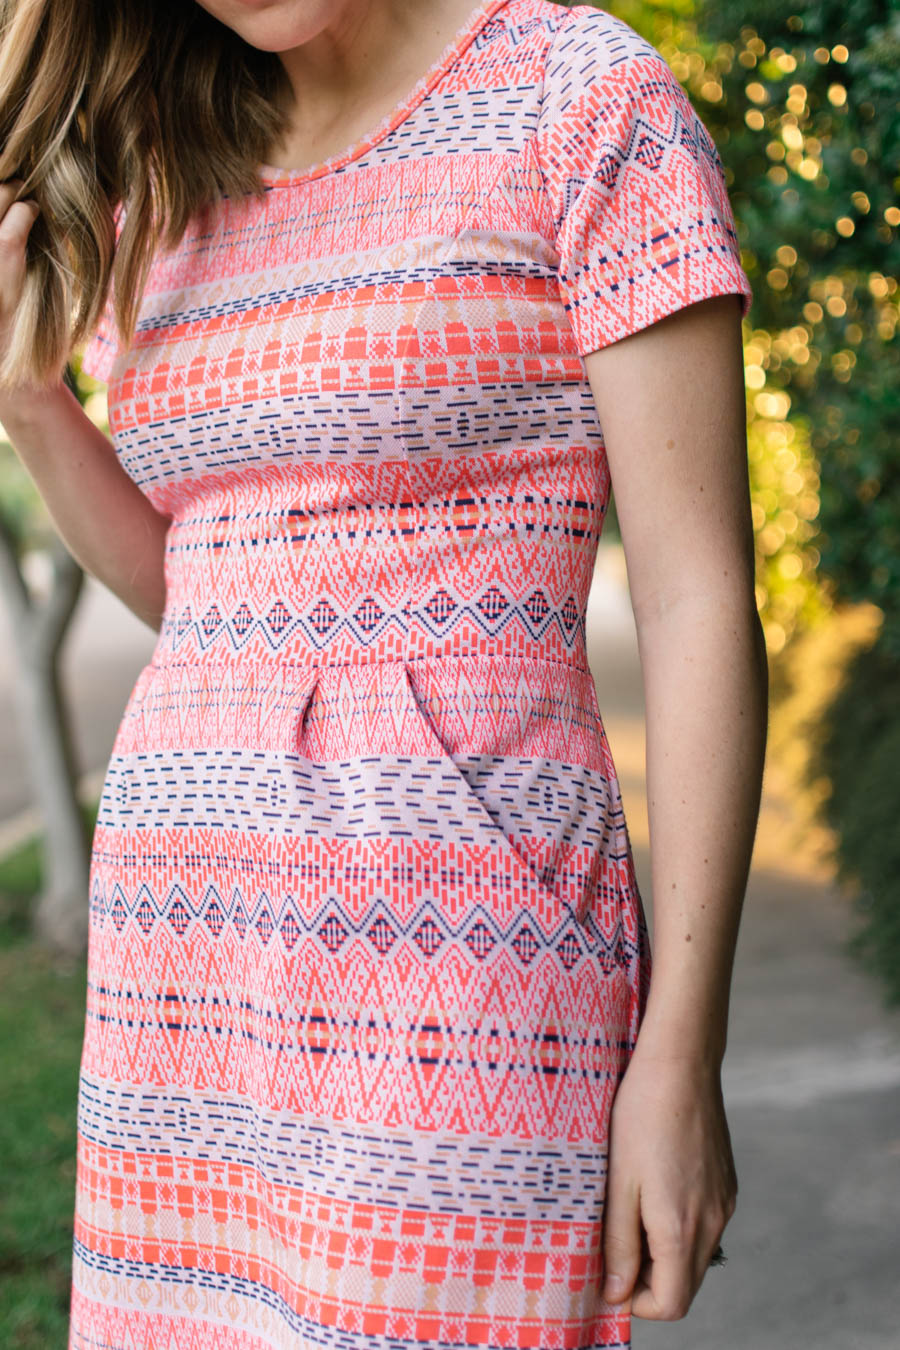
Oh well. Life goes on. So I just made sure to get the pattern matching the best I could so that people wouldn’t pay attention to my mistake. 🙂 I had to unpick the front once, but I was much more careful after that, and everything lined up really well!
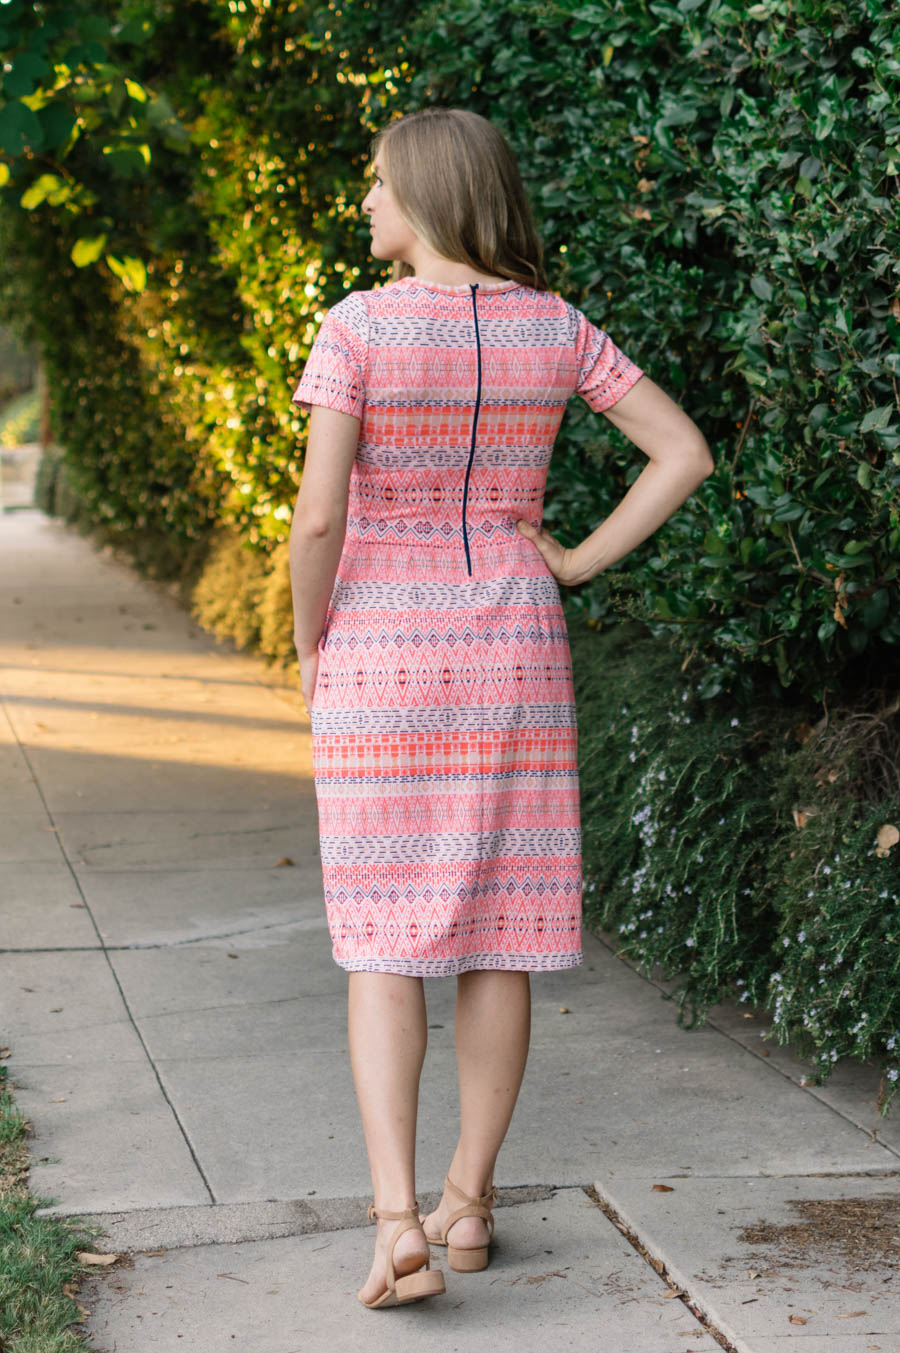
I had one blue and one orange zipper, and asked on Instagram Stories which I should use, and blue definitely won. I love the exposed zipper detail for this pattern. For some reason my zipper was a little bit longer than it was supposed to be, even though I had measured beforehand. I just fudged it a little and it’s fine, but I can’t wait for the day when I put a zipper in and the bottom is all finished off nicely.
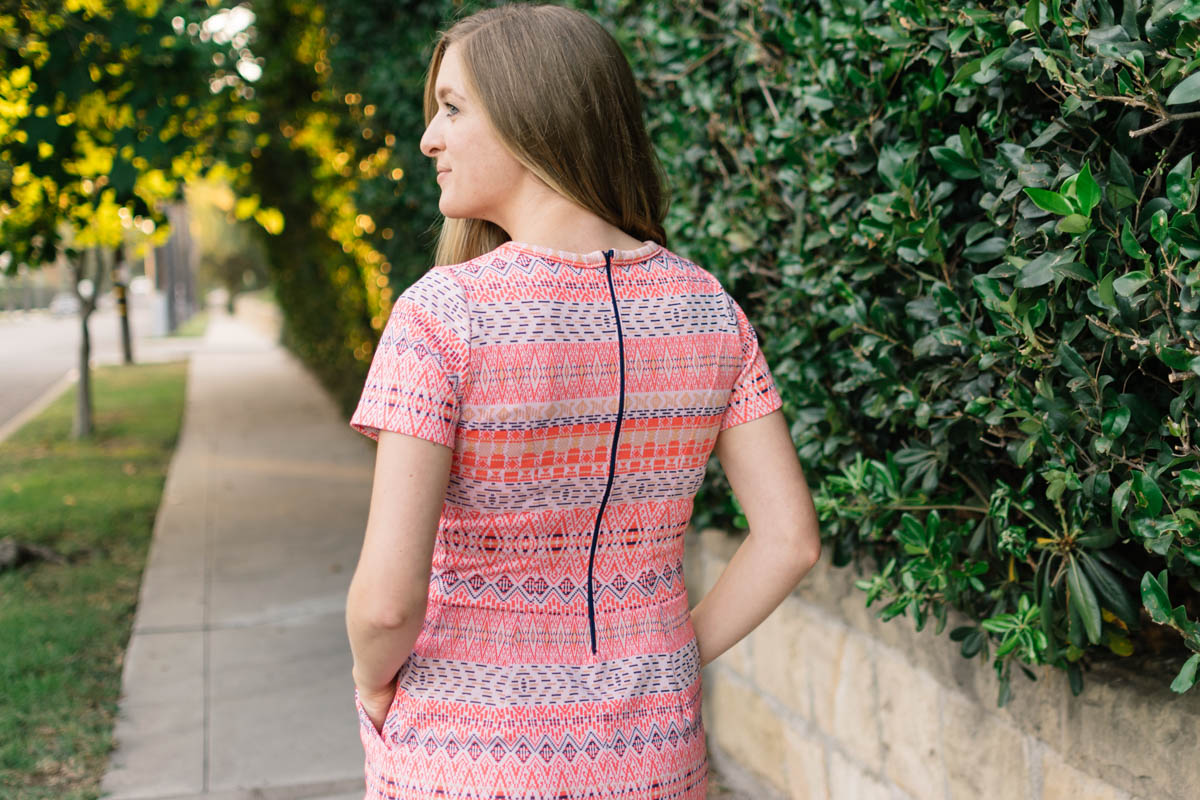
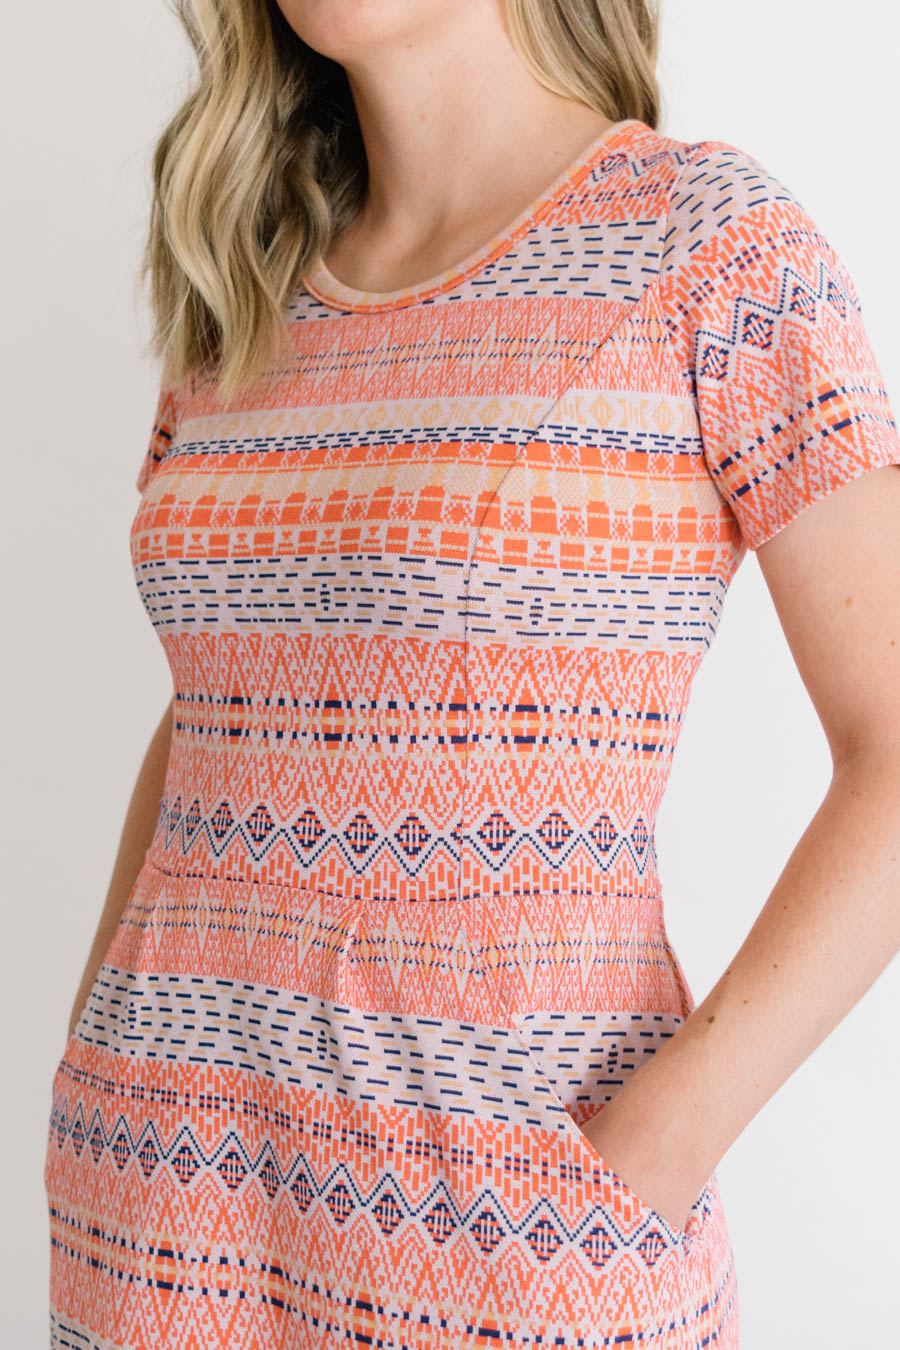
I had a few different pieces cut out for the neckline, but none of them had very much orange and I felt like the neckline needed to not have any blue to balance out the top. I am very happy with the piece I chose, and think that the orange balances it well.
This fabric is a jacquard knit from LA Finch Fabrics. I bought it in February of last year, and the fabric is PERFECT for this dress.
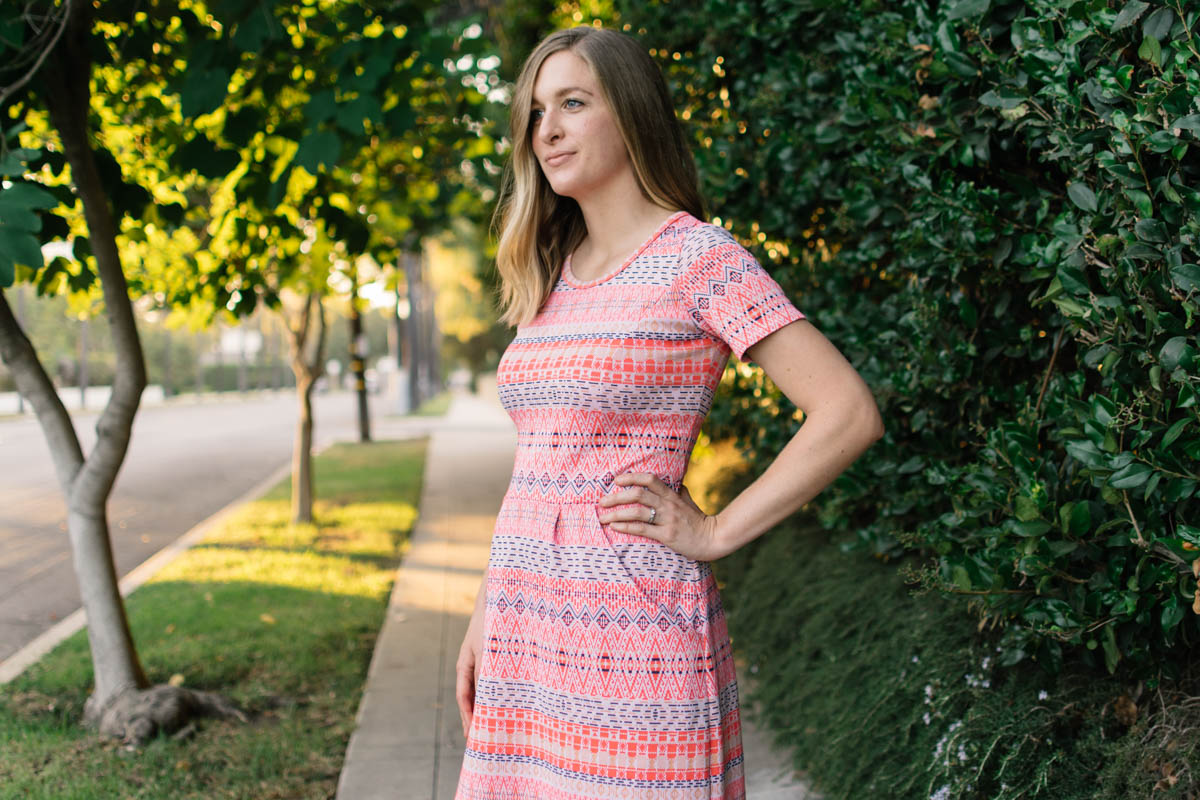
I can honestly say that I LOVE sewing the Charleston. I don’t know what it is, but I remember the last time I made it, it was just really fun! I’m so happy with how this dress turned out, and it’s one of my favorites! Hey June Patterns never cease to amaze me. If you have any questions about the Charleston, you can leave a comment below. Happy sewing! 🙂
This is a Indiesew Blogger Team post. All thoughts and opinions are my own.
That was such a great tutorial, Tor!!! I can’t even believe the difference between your first dress and the second one!
Thank you Skyler!! I was so happy that it made such a huge difference, and I’m so glad you like it!
I need this adjustment too so this is super helpful, thanks
Yay! I am so glad! You are very welcome. 🙂
Thank you so much for this!! I was searching the Hey June Facebook page for info on doing a FBA on the Charleston when I came across your post linking to this tutorial – and it was the best accidental find ever. Spent time doing a FBA and LBA to the pattern and for the first time ever a bodice has fitted perfectly first go!!
I should add, I’m not tall at all – more on the shorter side of average, but I have a really long & skinny upper torso 🙂
Hi Anna! This makes me SO happy that it was helpful and worked for you!! That is always so nice when your first adjustments to a pattern are spot on!
Thank you for this! What’s the best way to go about figuring out how much you need to lower for a low bust adjustment?
You’re welcome, LeAnne! I just held my pattern piece up to me and did kind of a paper fitting to decide on the amount. If you printed it with paper, you may want to trace it onto some tissue paper so that forming it to you is easier.