
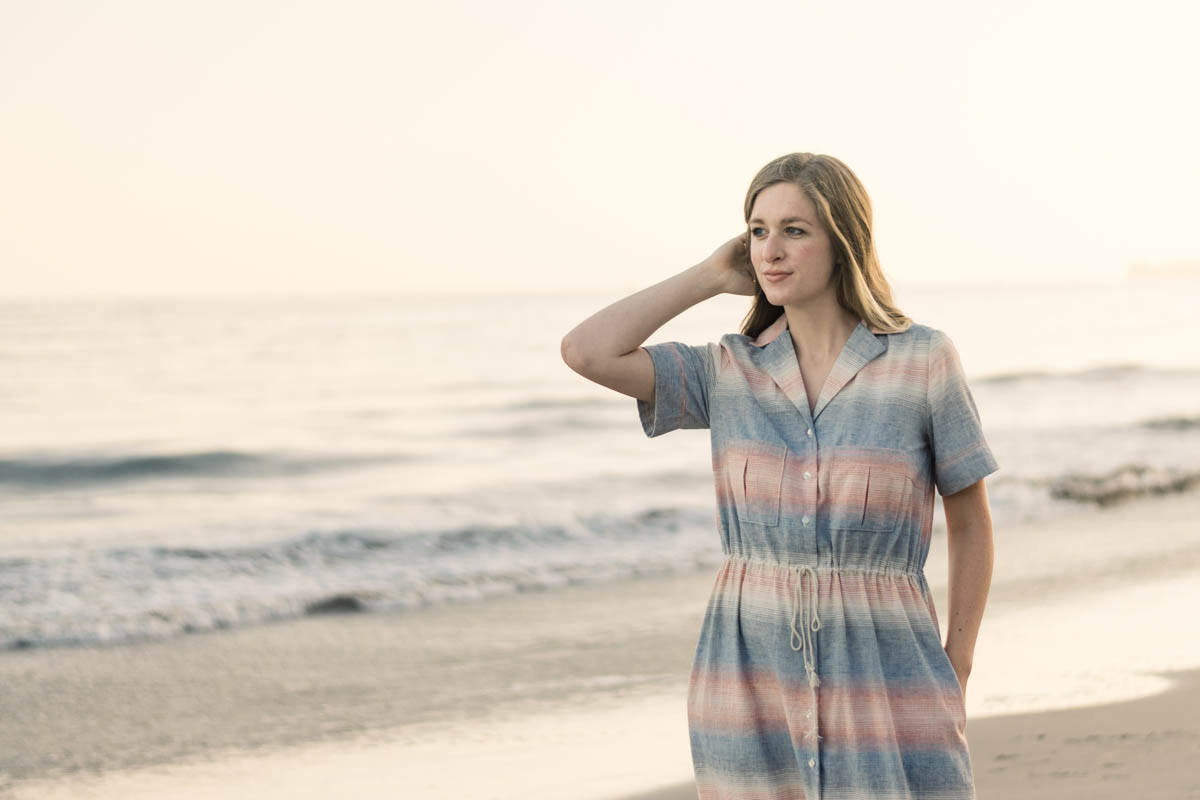
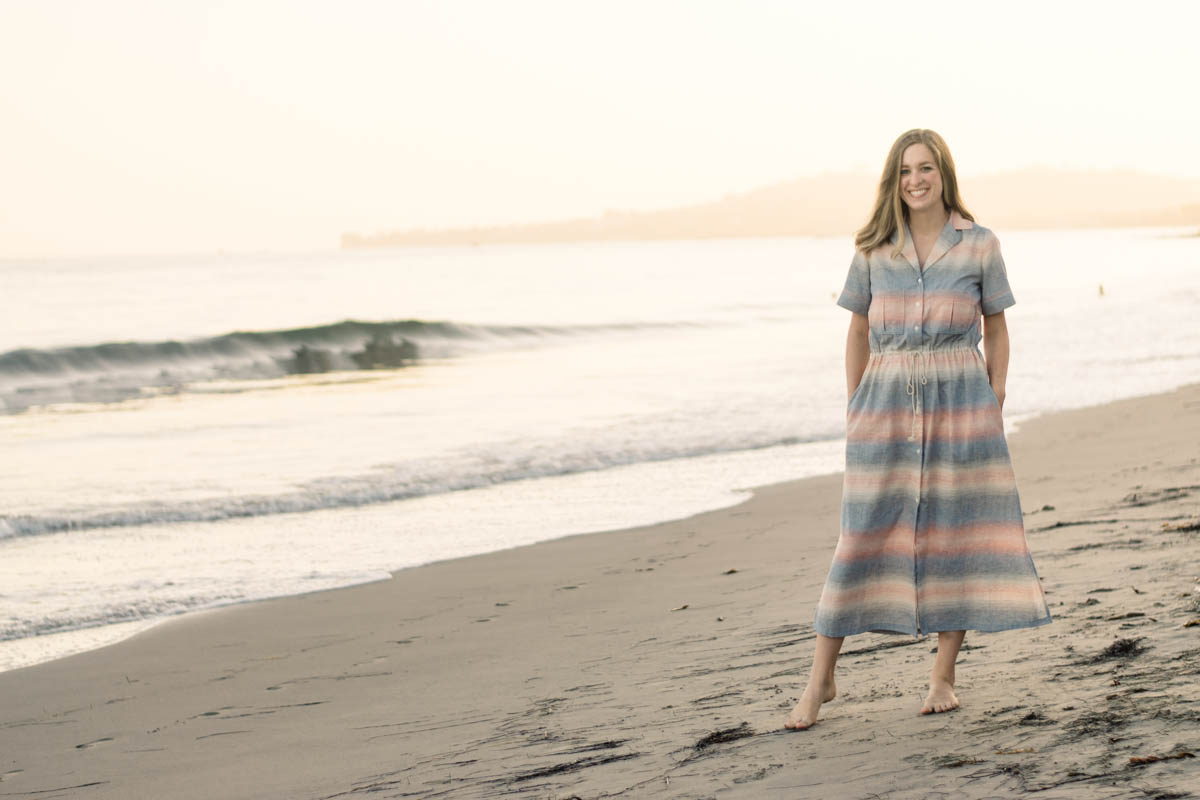
I first discovered the Reeta Midi Shirt Dress by Named a few months ago. I think I was searching for button up dress patterns because…I’m a little obsessed over here if you haven’t noticed. 😉 The pattern came out last February, so I don’t know how I missed it! Once I found it, I looked up the hashtag in Instagram to see how other’s Reeta’s have turned out (life hack to find out how good a pattern really is), and all of them were gorgeous! It quickly made it’s way up my ‘make list’ and now having it in my closet makes me the happiest girl!
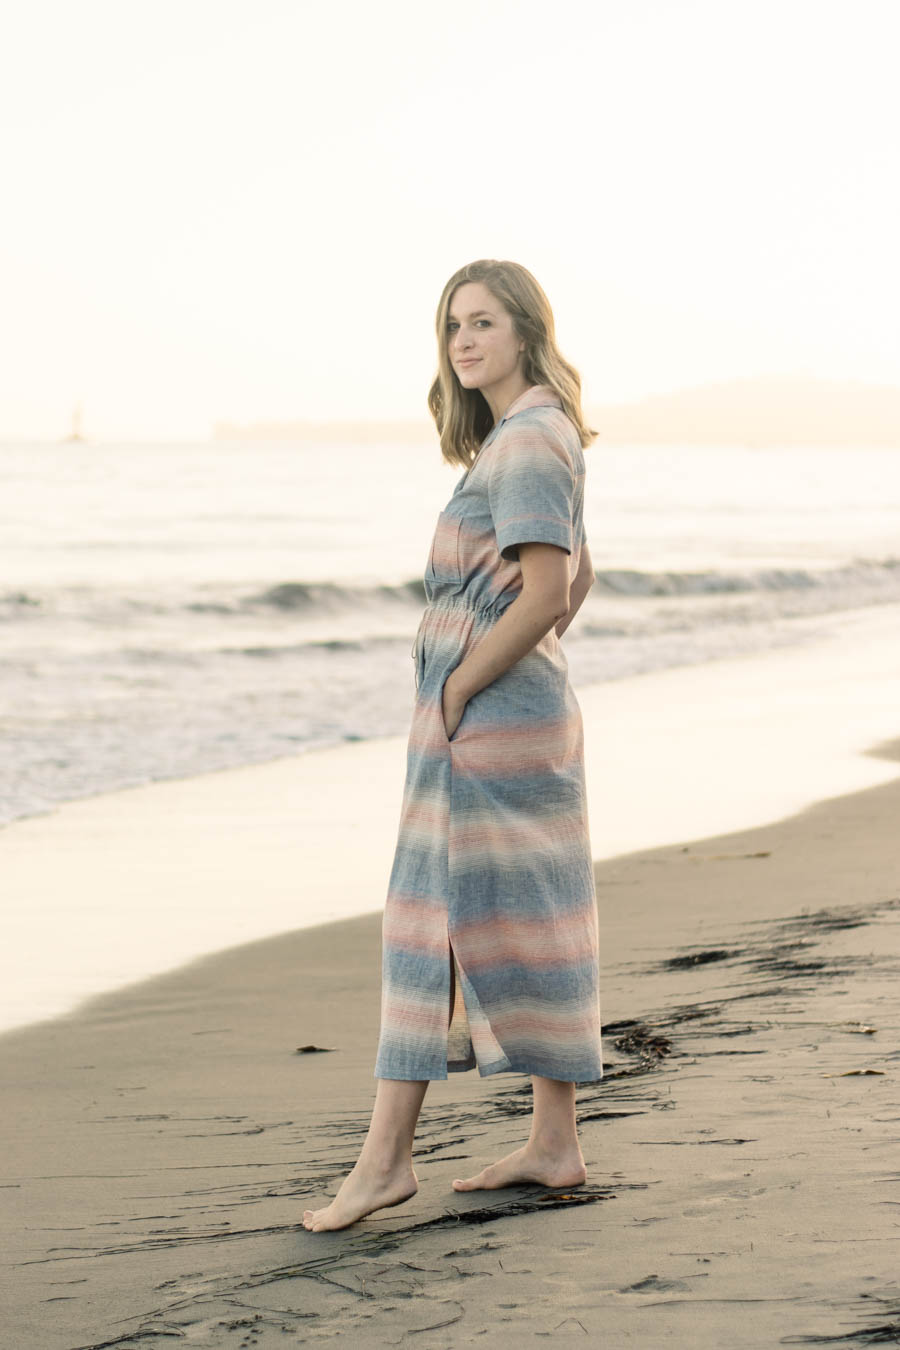
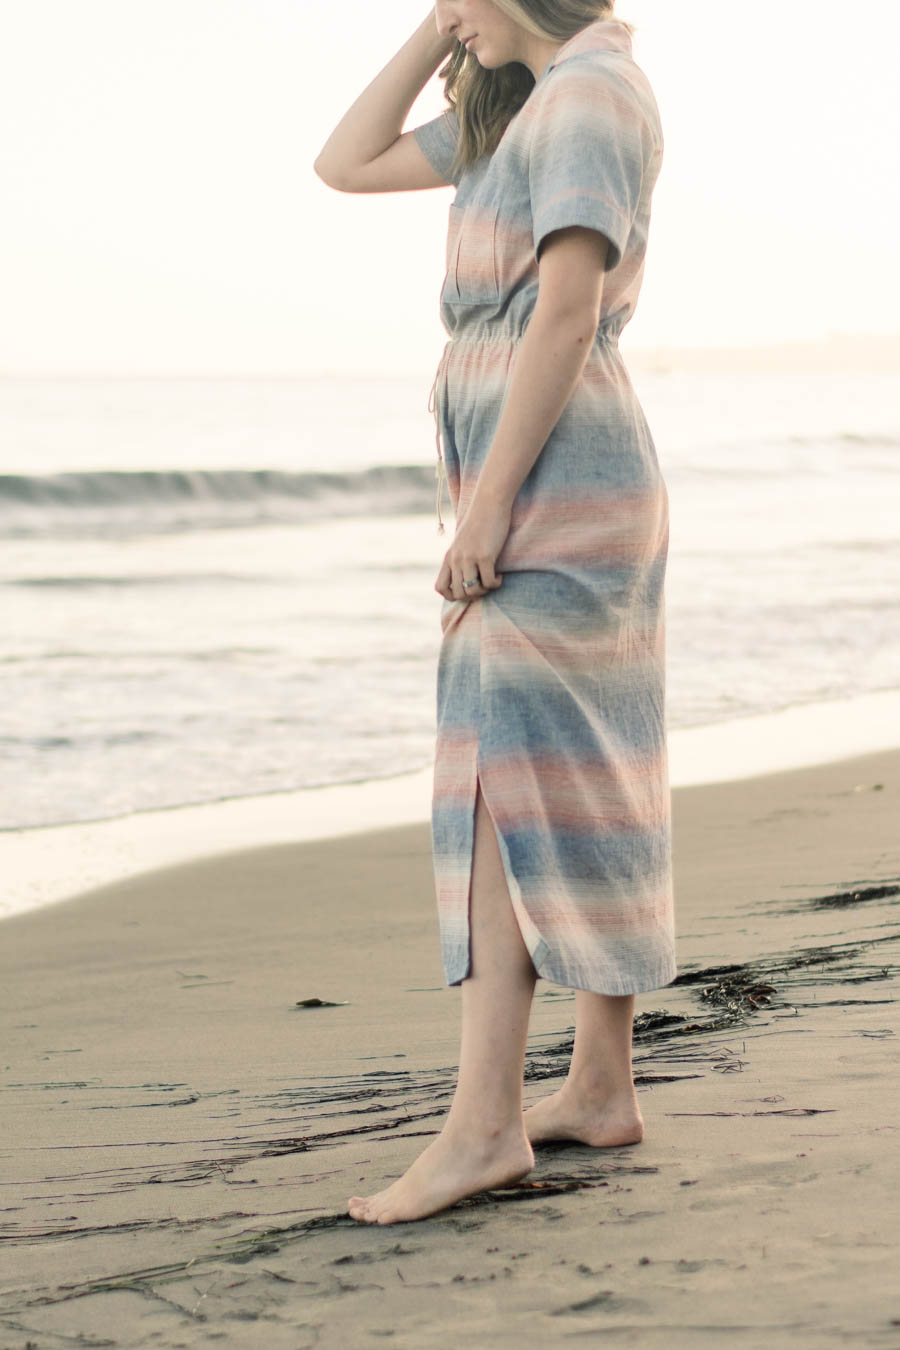
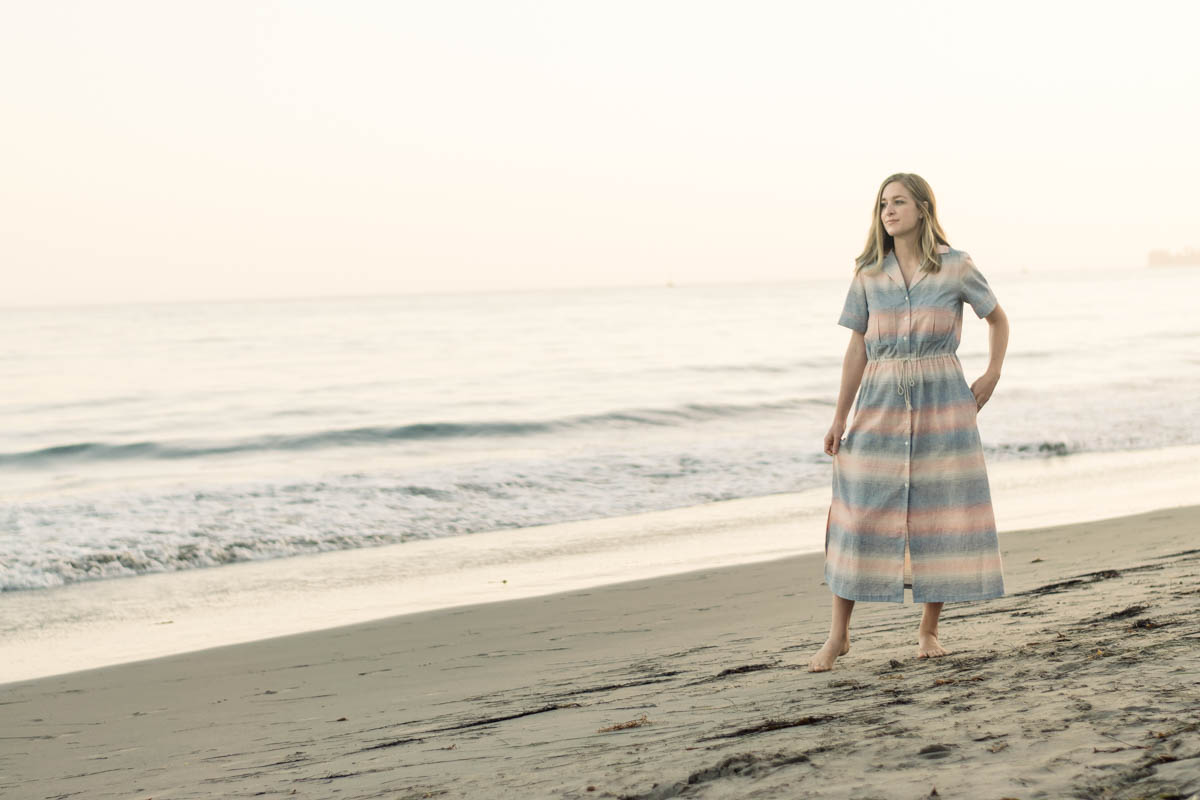
The samples shown on both the Indiesew and Named websites show the dress made in rayon challis, which is a bit thinner and much more flowy. I used cotton linen retro stripe from Indiesew, and you can see that it’s a tiny bit thicker and and a little stiffer, but still worked really well for this dress. The fabric is so pretty that when my husband saw it he said, “Wow, that is really pretty!” It basically looks like a summer sunset.
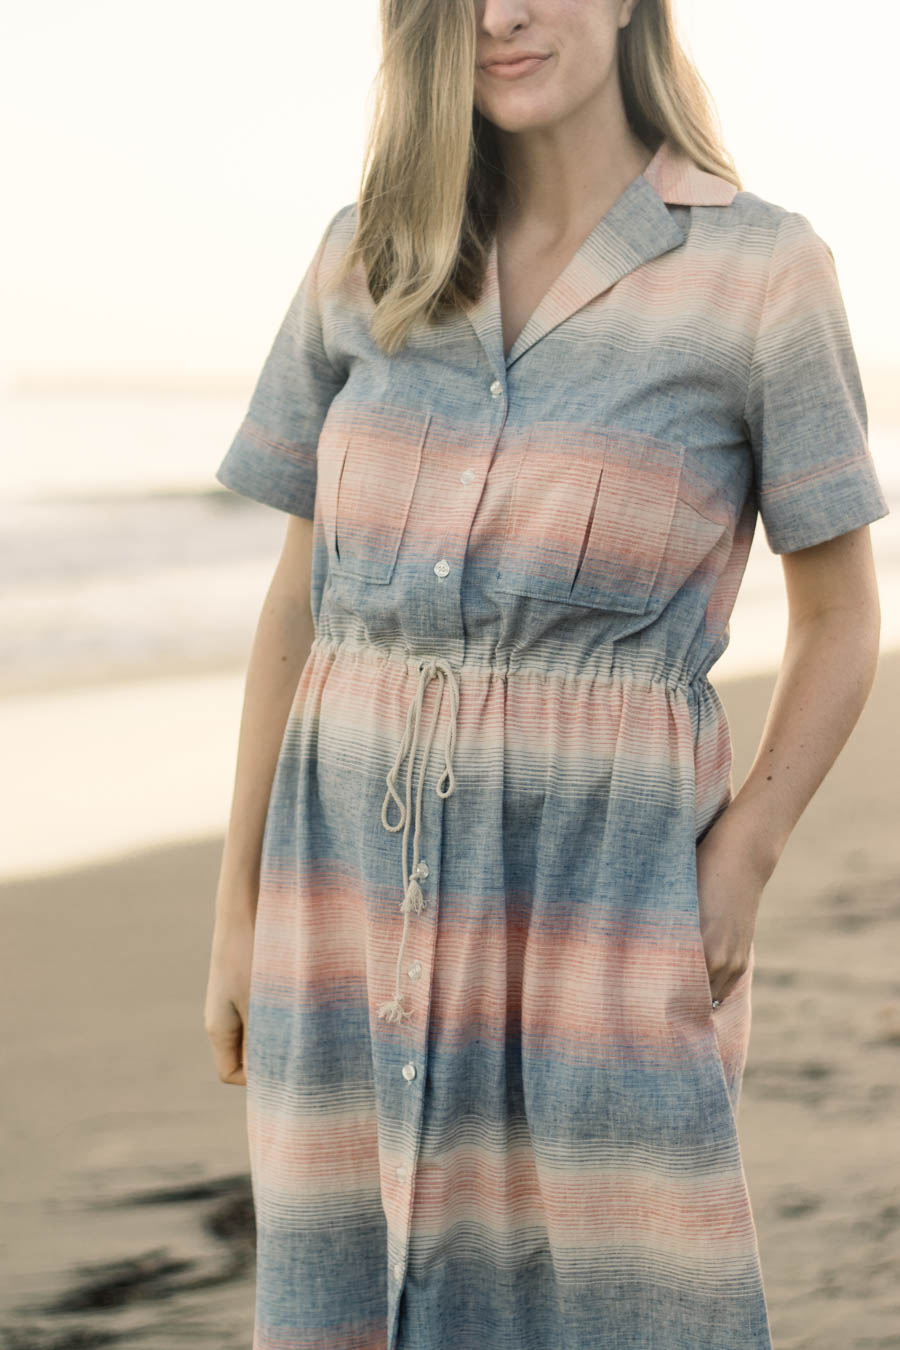
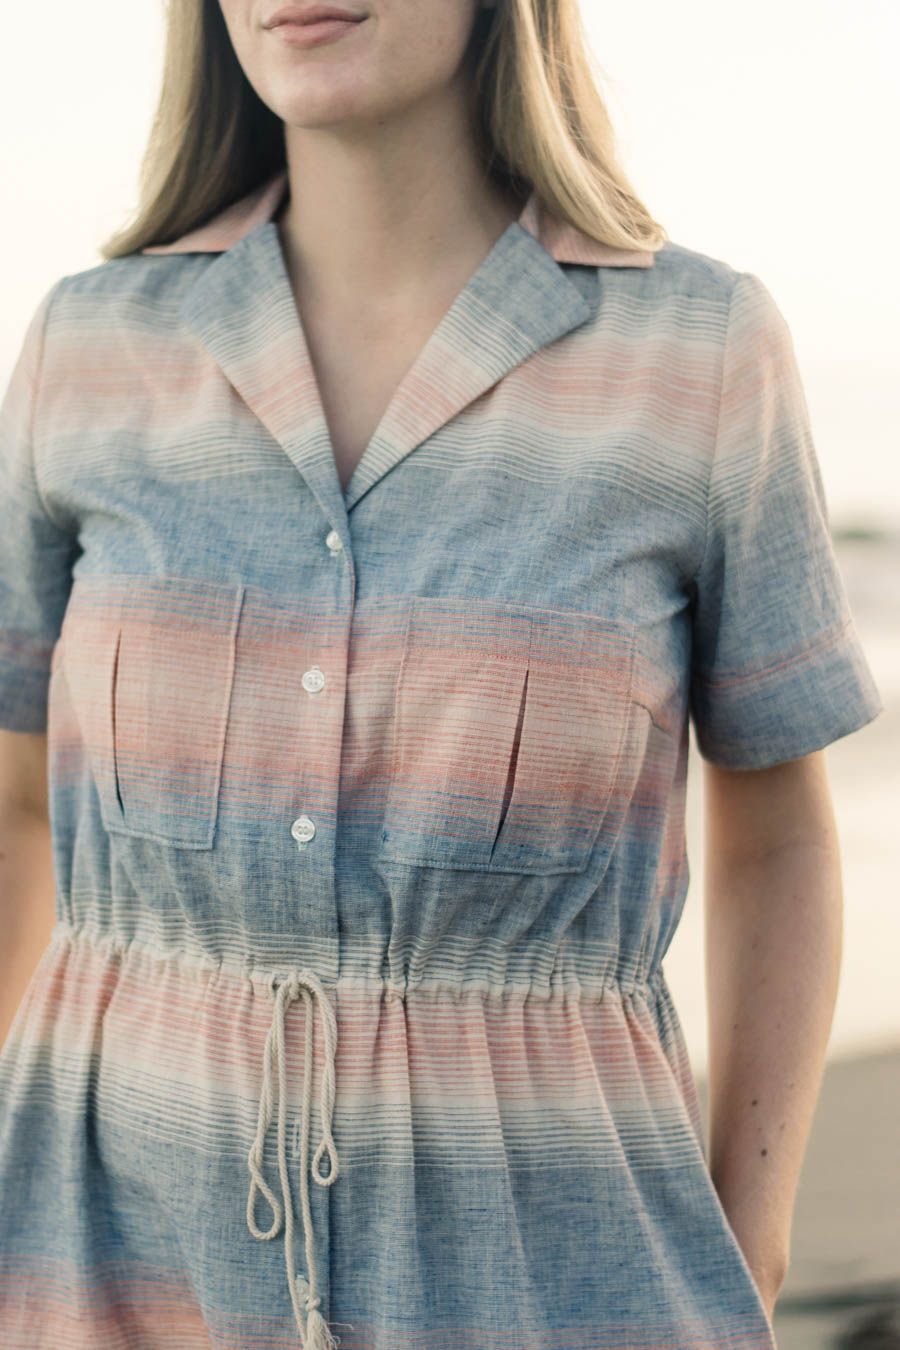
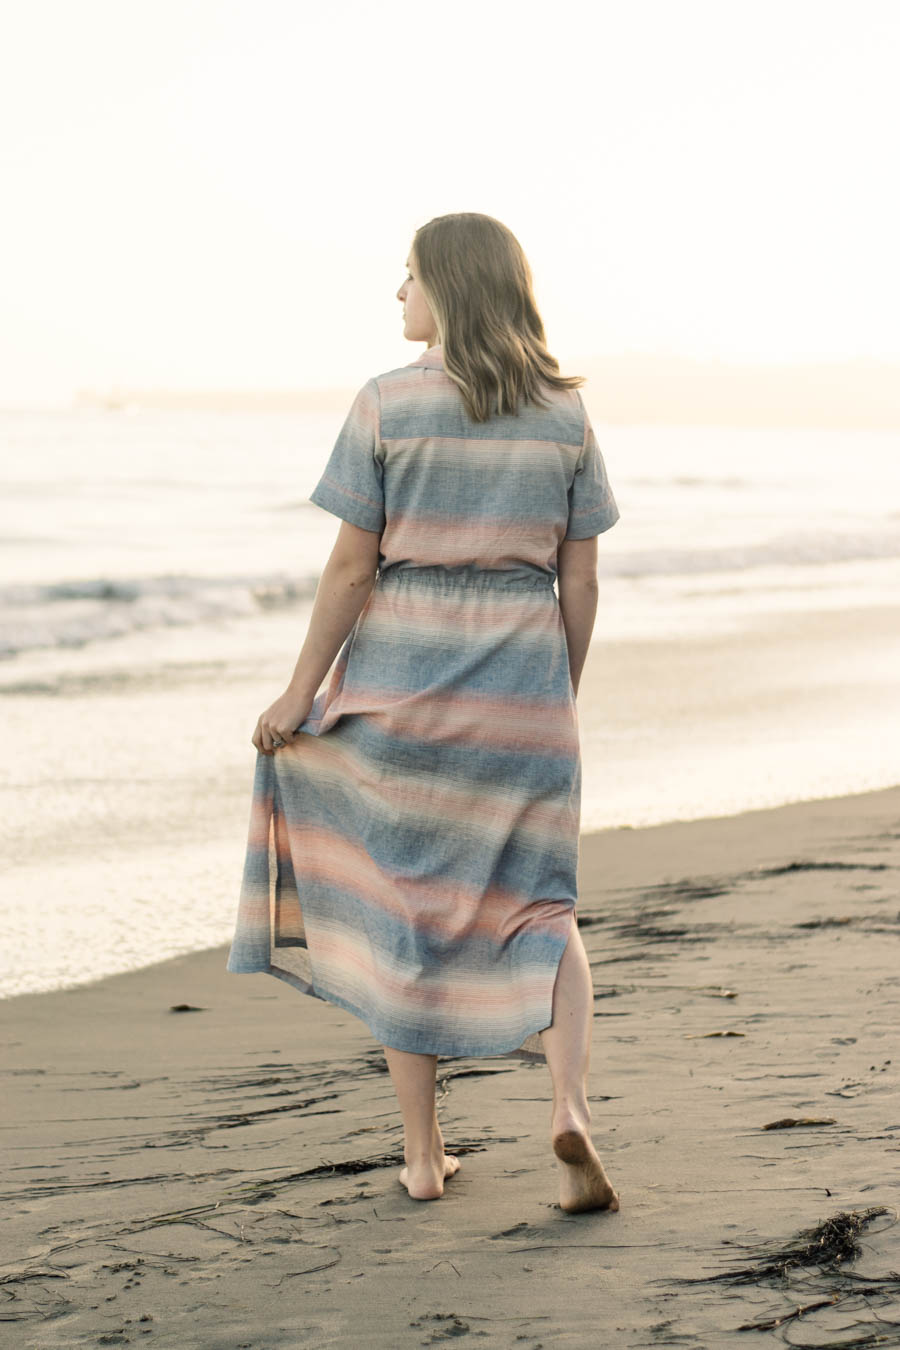
I had my heart set on all of those beautiful stripes matching up perfectly, but then part of the way into it I realized I forgot about the darts! (*Insert all of the crying emogis.*) But after thinking about it, I was very happy that I lined up the entire top front half. That alone is a win in my book. Even though the back piece makes me kick myself a little bit, it’s still going to get plenty of wear!
This pattern is definitely a project for the intermediate sewists who has a few button up shirts under their belt. There were a few things in the pattern that I was confused about, so they took me a minute to figure out. One thing that was different was that the seam allowance is 3/8″ and not 5/8″, so I decided against making it with french seams. Instead, I just serged the edges after stitching with my sewing machine.
Another thing is that the instructions don’t have you top stitch the yoke or the front collar/placket. I did top stitch the bottom of the yoke, but I’m still not sure if I should top stitch around the collar and down the plackets. I did for my Carolyn and my Willamette shirt, so I was a little bit confused why I didn’t have to for this one. Maybe it’s just a style preference?
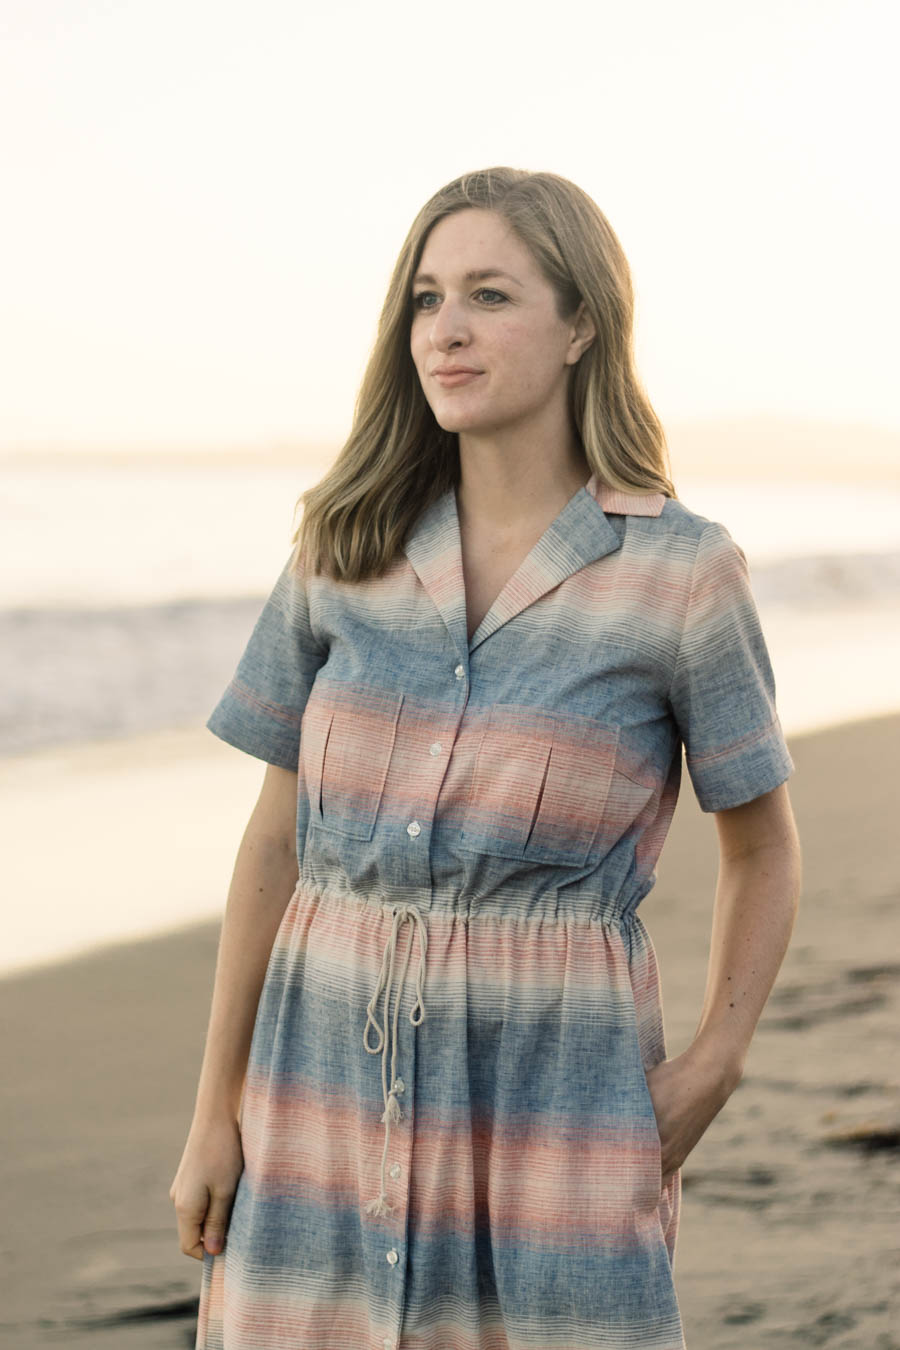
 I was also a bit confused in the instructions about which side of the facing I was supposed to finish, but thankfully I recently finished the Carolyn Top, and it has a similar facing finish. The last thing was the collar. It was the struggle of LIFE trying to get that thing to fit and it doesn’t look very pretty at the curves, but I was so over it by the end. I’m about 99% sure that stay stitching the neckline would have helped a lot, but it wasn’t in the instructions and I honestly have not memorized ‘shirt making best practices’, so I didn’t remember that step.

Aaand, after I was completely finished with it and tried it on, I found myself reaching for pockets, and I knew I would seriously regret not having them in this dress. SO…naturally, I unpicked my side seams (including the serging) where the pockets should go and had them done within about an hour. I don’t regret it in the least, but I do wish I would have thought of that before hand.
NEXT TIME I’m going to make sure I stay stitch the neckline before attaching the collar, remember to finish the long-long side of the facing — not the short-long side of the facing (if that makes sense), and always pockets!
Now that I’ve made it and figured out all of those things, I think I would be willing to make it again, but I’m going to take a break for a while. It is such a gorgeous dress, and I am so happy to have it finished and get to wear it!
My sewing tall alterations where to add 1.5 inches above the bust to lower the bust darts and hip line. That was the perfect amount for me because when I cinch it up, it hits right below my ribs, I also lengthened it by 1.5″, but ended up cutting 1″ off at the end because it’s already quite long (it’s made for someone 5’8, so not as much lengthening is needed). The only other alteration I made was to lower the side vents by 3″.
I used dress shirt buttons from Benno’s Buttons, and they worked perfectly! I also found this draw string at a local art thrift store in town, and it was actually part of a ‘started but never finished’ macrame project. So I just untangled a strand and it worked perfectly for my dress! I know I don’t look remotely like her, but I do sort of feel like Ariel in her rope dress (pictured below). Haha!

The fabric for this post was provided by Indiesew. All thoughts and opinions are my own.
Followed a link from Helen’s Closet. This is gorgeous! And totally Mermaid on land vibe.
I appreciate her mentioning it, and I’m so glad that is how you found this! Thank you! 🙂
Beautiful Reeta. I’ve made only one and suffered the same collar angst… Love your fabric!
Thank you, Coco! It is a beautiful dress, but I do wish the collar wasn’t such a pain. 🙁
O_O Just wow. This is so lovely and soft and it suits you down to the ground.
Thank you SO much, Lia!